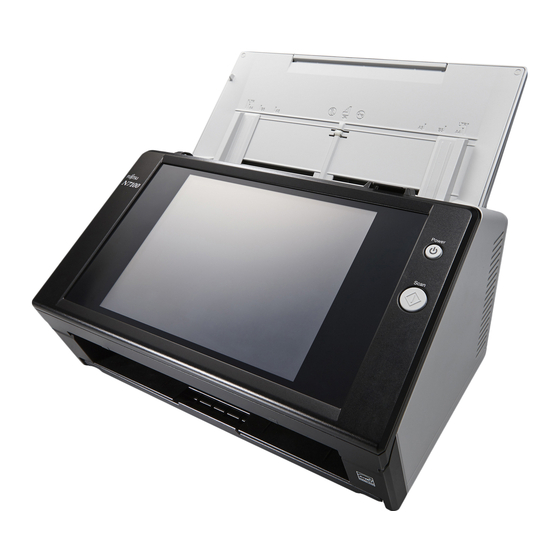
Fujitsu N7100 시작하기 - 페이지 11
{카테고리_이름} Fujitsu N7100에 대한 시작하기을 온라인으로 검색하거나 PDF를 다운로드하세요. Fujitsu N7100 24 페이지.
Fujitsu N7100에 대해서도 마찬가지입니다: 소모품 교체 및 청소 지침 (20 페이지)

Chapter 2 Setting up the Scanner
2.1 Removing the Protective
Packaging
The scanner comes with a protective foam sheet and
protective card attached. Follow the procedure described
below to remove the protective packaging before using
the scanner.
1.
Remove the tape and protective foam sheet that
covers the touch panel.
2.
Remove the tape and protective foam sheet on
the back of the ADF paper chute and put the
paper chute all the way back.
Be careful not to get your hands
or fingers caught when you put
CAUTION
the paper chute all the way
back.
Do not forcefully fold the ADF
paper chute beyond the limit.
The scanner and the ADF paper
chute may come apart, which
may cause an injury or a
scanner malfunction.
3.
Pull the cover release catch to open the LCD
cover, and remove the tape and protective card
between the side guides.
4.
Pull the stacker forward, and then remove the
tape and protective card.
Protective card
Cover release
catch
Protective
card
Stacker
11
2.2 Connecting the Scanner
1.
Place the scanner at its installation site.
Do not hold the ADF paper chute
to lift up the scanner.
CAUTION
The scanner and the ADF paper
chute may come apart, which may
cause an injury or a scanner mal-
function.
ATTENTION
The following space is required to set up the scanner:
Depth: 700 mm (28 in.)
Width: 400 mm (16 in.)
Height: 500 mm (20 in.)
2.
Connect the AC cable to the AC adapter
(collectively called "power cable").
ATTENTION
Use only the AC adapter and AC cable provided with the
scanner.
AC cable
3.
Connect the cables to the scanner.
1
Connect the power cable to the scanner's power
connector.
2
Connect the LAN cable to the LAN connector.
2
4.
Connect the other end of the LAN cable to the
network hub.
5.
Insert the power cable into an AC outlet.
The power is connected but the scanner is not yet
ready for operation.
AC adapter
1
