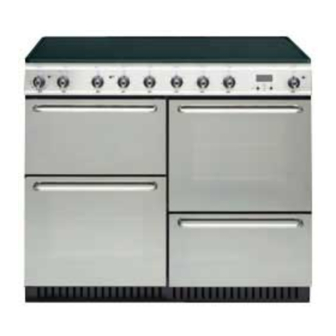
Indesit KP100CX 설치 및 사용 설명서 지침 - 페이지 8
{카테고리_이름} Indesit KP100CX에 대한 설치 및 사용 설명서 지침을 온라인으로 검색하거나 PDF를 다운로드하세요. Indesit KP100CX 24 페이지. Indesit free standing electric cooker instruction for installation & use

- 1. Table of Contents
- 1. Introduction
- 2. For Your Safety
- 2. Clock / Minute Minder Operation
- 2. Setting the Time of Day
- 2. Setting the Minute Minder
- 2. Using the Hob
- 2. Twin Grill
- 2. Ovens
- 2. Oven Cooking Charts
- 2. Care and Cleaning
- 3. Installations
- 3. Installation Instructions
- 3. Something Wrong with Your Cooker
- 3. If It Still Won't Work
- 3. Key Contacts
Using the Hob
The hob consists of six ceramic heaters mounted under a ceramic glass panel. The hob
warning neon illuminates if any of the hotplate controls are operated.
The rear three elements are 190mm diameter and are rated at 1800 watts.
The front left and front right elements are 190mm diameter and are rated at 1500 watts
and the front centre element is 155mm diameter and is rated at 1200 watts.
Warning: If any crack should appear on the hob or warming plate glass, isolate the
cooker immediately from the mains supply. Do not use any part of the cooker and
contact Service (see Key Contacts, back page).
CERAMIC HOB
Under no circumstances should the hob be used with aluminium foil in contact with
the hob surface, as damage will occur.
The cooking areas change colour when heated (become red) indicating which heating
element is energised. The cooking area returns to its original colour when the heating
element is switched off and cools. Even though the cooking area has returned to its
original colour it may still be hot.
Hob hot neon:
This will operate soon after any of the six ceramic elements are turned on and will
remain on until the surface has cooled, approximately 30 minutes.
CONTROLS
Fastlite hotplates: The controls set the hotplate at six pre-set power indicator levels,
indicated by the numbered markings (1 is the minimum and 6 is the maximum setting).
The hotplate will be off at the 'O' position.
To reduce the heat to cook more slowly or simmer, turn the knob to a lower setting
which will vary according to size and type of saucepan, the amount of food and
whether or not a lid is fitted. Pans can be placed on the unheated areas of the panel
when cooking is finished and before serving food. It is inadvisable at any time to leave
a heating element switched on without a pan in position as this wastes energy and
could make soil or rub-off from aluminium pans more difficult to remove.
To protect elements against over heating, safety cut-outs have been incorporated into
each element. After several minutes with the control at setting 6 the safety cut-out
switches the elements off and on continuously, thus preventing any adverse effects
that may be caused by an excessive build-up of heat in the cooking area.
8
