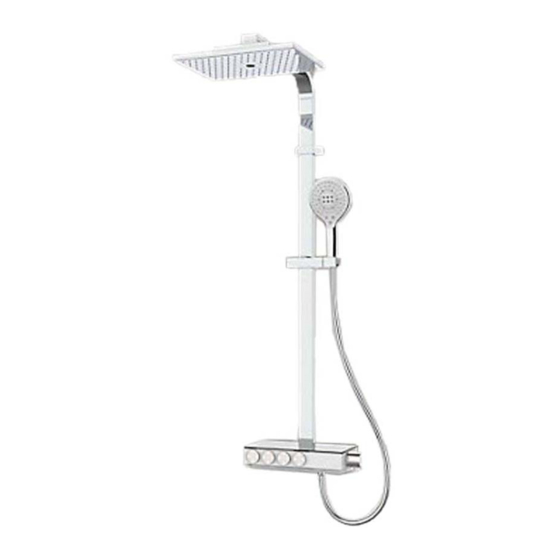
Kohler URBANITY+ 23861Т-9 설치 지침 - 페이지 3
{카테고리_이름} Kohler URBANITY+ 23861Т-9에 대한 설치 지침을 온라인으로 검색하거나 PDF를 다운로드하세요. Kohler URBANITY+ 23861Т-9 4 페이지. Thermostatic dual/3 way shower column with multifunction/beitou showerhead

Clear the Thermostatic Cartridge
Very hard water can obstruct the filters on the thermostatic cartridge and reduce the water flow. Please clean the cartridge
as follows: Shut off the water supply of the faucet and turn on the water flow valve, then proceed to remove the cartridge.
The cartridge is sensitive part, please be careful.
②
28
29
①
Number 37
30
26
1
1. Before your action, make sure the number 37 on the
temperature handle is upward vertically(It could not be
turned counter-clockwise if not pushing the button).
Remove the temperature handle(28).
Stop pin
Notch
3
3. After cleaning, install the "stop assembly" back on
the cartridge, adjust the stop pin into the notch.
Round mark
Groove
5
5. NOTE: Do not turn the cartridge when reinstalling it.
If you turned it accidentally, you should adjust it and be
sure that the round mark is correctly in line with the
groove, or readjust as per the steps of verification and
setting.
CLEANING INSTRUCTIONS
All Finishes: Clean the finish with mild soap and warm water. Wipe entire surface completely dry with clean soft cloth.
Many cleaners may contain chemicals, such as ammonia, chlorine, toilet cleaner etc. which could adversely affect the
finish and are not recommended for cleaning.
Do not use abrasive cleaners or solvents on Kohler faucets and fittings.
1387024-2A-E
Cartridge
34
33
32
31
2
2. Remove the screw(31) and adapter spline(32), and
then unscrew the nut(34) and stopper(33). Remove
the cartridge cautiously. Clean the thermostatic
cartridge by soaking it in warm vinegar.
Notch
Stop pin
4
4. Install the assembly cartridge and stop in the body,
adjust the stop pin into the notch.
①
28
32
31
29
Indicator line
30
Upward
②
horizontally
26
6
6. Install the adapter spline(without turning the spindle).
Ensure the indicator line on the adapter spline align with
the indicator line on the stopper. Tighten the screw(31)
with a screwdriver. Install the temperature handle(28).
Ensure the number 37 on temperature handle is upward
vertically(After assembly, it could not be turned counter-
clockwise if not pushing the button). Tighten the screw
(29) with 2.5mm hex wrench(26). Insert the plug(30).
6
ROUGH-IN DIMENSIONS (23861T & 23749T)
126
46
167
Ø37
40
302
150±10
G1/2˝
23861T-9 Showerhead
1387024-2A-E
440
15
20
31º
127
The Finished Floor
335
450
23749T-9 Showerhead
3
