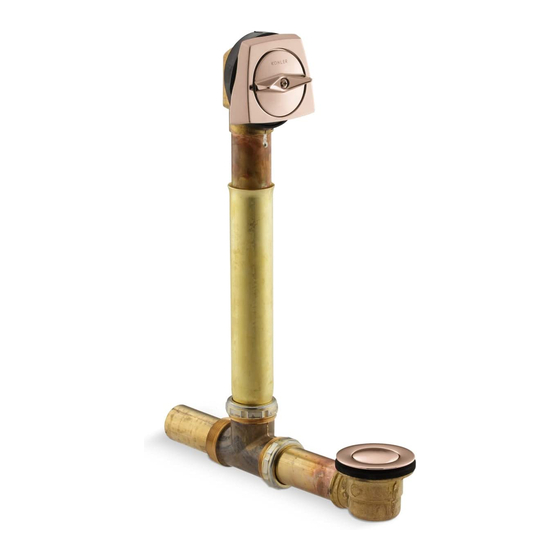
Kohler Clearflo K-7161 설치 및 관리 매뉴얼 - 페이지 7
{카테고리_이름} Kohler Clearflo K-7161에 대한 설치 및 관리 매뉴얼을 온라인으로 검색하거나 PDF를 다운로드하세요. Kohler Clearflo K-7161 24 페이지. Bath drains
Kohler Clearflo K-7161에 대해서도 마찬가지입니다: 설치 지침 (4 페이지), 주택 소유자 매뉴얼 (21 페이지)

Instale el codo de desagüe
NOTA: Retire las rebabas que puedan existir en la salida del desagüe de la bañera.
Extraiga el obturador de la coladera.
Desensamble la coladera y el empaque del codo del desagüe.
Aplique una tira de masilla de plomería u otro sellador alrededor del lado inferior
de la coladera. Consulte las instrucciones del fabricante de la masilla de plomería
o sellador.
Coloque el empaque entre el codo del desagüe y la parte inferior de la salida del
desagüe de la bañera.
Enrosque la coladera en el codo de desagüe hasta que quede ajustada. No apriete
la coladera completamente en este momento.
2.
Secure the Overflow Ell
Overflow Ell
Coude du trop-plein
Codo del rebosadero
O-Ring
Joint torique
Arosello
Position the tapered gasket with the tapered side against the overflow ell and the
thin edge of the gasket at the top of the overflow ell, as shown.
Attach the tapered gasket in this position on the overflow ell.
Lubricate each o-ring, then slide each o-ring onto each groove of the overflow ell.
Align the overflow ell with the overflow hole of the bath.
Align the retainer plate over the lower mounting holes on the overflow ell.
From inside the bath, insert the two flathead screws through the retainer plate and
into the mounting holes on the overflow ell.
Kohler Co.
Tapered Gasket
Joint conique
Empaque cónico
Retainer Plate
Plaque de retenue
Placa de retención
Screws
Vis
Tornillos
7
1101880-2-B
