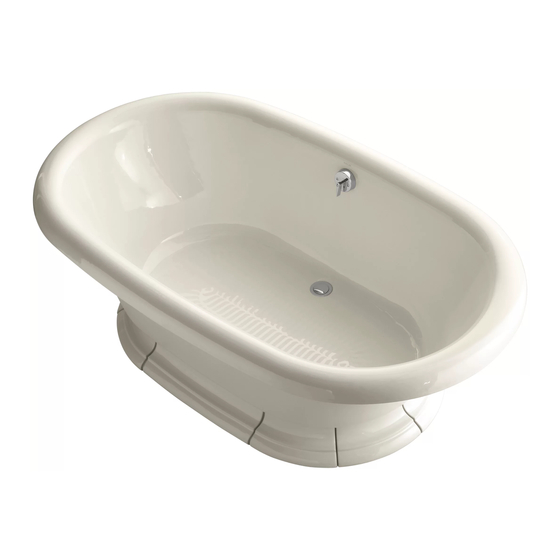
Kohler Vintage K-700T 설치 지침 매뉴얼 - 페이지 9
{카테고리_이름} Kohler Vintage K-700T에 대한 설치 지침 매뉴얼을 온라인으로 검색하거나 PDF를 다운로드하세요. Kohler Vintage K-700T 12 페이지. Drop-in or freestanding cast iron bath

B. Install Ceramic Floor Rail
The Vintage Ceramic Floor Rail is for use with a free-
standing Vintage Bath. However, the bath must be
installed before the ceramic floor rails.
CAUTION: The bath must be supported by
the cast iron legs, not the ceramic floor rails.
Please see Installation Instructions for properleg
adjustment procedure.
Also, it is recommended that the flooring and the
plumbing be completed before the installation of the
floor rail. The bath should be leveled at a height that
provides clearance between the top of the ceramic floor
rail and bottom of the bath.
·
Position Floor Rails on Site.
there is an equel space between bath skirt and all
eight floor rails. The ends of each floor rail are
connected by a 1/8 grout joint. The eight curved
floor rails are identical, so their order of installation
is not critical.
·
Create Floor Rail Template.
edge of each floor rail with a pencil. Mark location of
joints with a line that extends beyond the traced
outside edge of each floor rial. Remove floor rails.
Measure in 3-3/4 from traced outside edge and
"
mark another line. This will establish the area in
which the floor rails will be located.
·
Application of Adhesive to Floor Surface/Floor
Rail Bottom.
Per manufacturer
adhesive to traced area on the floor or bottom
surface of each floor rail. Apply adhesive to within 1
of outside edge of floor rail. This will avoid excess
adhesive build up.
NOTE:
Use only adhesive that is appropriate for use
with existing flooring.
!
Set Floor Rails. Using the pencilled lines as a guide,
set the floor rails with adhesive. Press floor rails
firmly to the floor. Height of all floor rails should be
consistent. Clean up excess adhesive and let dry.
·
Apply Grout to Joints.
instructions, apply sanded-grout to 1/8 grout joints.
When dry, clean floor rails with a non abrasive
cleaner.
NOTE: Send-Portland Cement Grout (sanded-grout)
is recommended.
1023725-T01-A
Position floor rails so
"
Trace the outside
,
s
instructions, apply
Permanufacturer
"
Adhesive
1"(25.4mm)
B.
Vintage
!
1/8
!
!
"
!
,
!
s
Grout
Front
Fig. #1
1
9
Vintage
( 3mm)
3-3/4
/
1
Extended Line At Each Grout Joint
Outside Edge Of Floor Rail
"( 95mm)
( 25mm)
1/8
