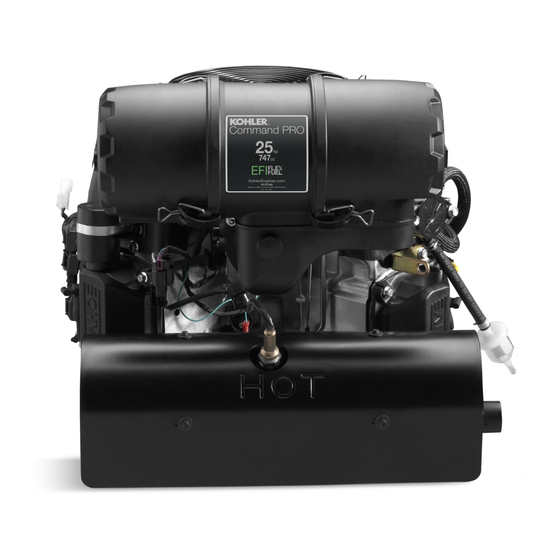
Kohler Command PRO FCV749 소유자 매뉴얼 - 페이지 5
{카테고리_이름} Kohler Command PRO FCV749에 대한 소유자 매뉴얼을 온라인으로 검색하거나 PDF를 다운로드하세요. Kohler Command PRO FCV749 8 페이지.

Maintenance Instructions
Accidental Starts can cause
severe injury or death.
Disconnect and ground spark
plug lead(s) before servicing.
Normal maintenance, replacement or repair of emission control devices and systems may be
performed by any repair establishment or individual; however, warranty repairs must be performed
by a Kohler authorized dealer found at KohlerEngines.com or 1-800-544-2444 (U.S. and Canada).
Maintenance Schedule
Every 25 Hours or Annually¹ (whichever comes fi rst)
● Service/replace low-profi le precleaner (if equipped).
Every 100 Hours or Annually¹ (whichever comes fi rst)
● Change oil.
● Replace low-profi le air cleaner element.
● Remove and clean shrouds and cooling areas.
● Check oil cooler fi ns, clean as necessary (if equipped).
Every 150 Hours
● Check heavy-duty fi lter minder.
● Inspect heavy-duty air fi lter paper element and inlet screen area.
Every 200 Hours
● Change oil fi lter.
Every 300 Hours¹
● Replace heavy-duty air cleaner element and check inner element.
Every 500 Hours or Annually¹ (whichever comes fi rst)
● Replace spark plugs and set gap.
Every 600 Hours¹
● Replace heavy-duty air cleaner inner element.
● Replace unique fl ex-fuel Electronic Fuel Injection (EFI) fuel fi lter.
Perform these procedures more frequently under severe, dusty, dirty conditions.
1
Oil Recommendations
We recommend use of Kohler oils for best
performance. Other high-quality detergent
oils (including synthetic) of API (American
Petroleum Institute) service class SJ or higher
are acceptable. Select viscosity based on air
temperature at time of operation as shown in
table below.
5W-30
°F -20
0
20
°C -30
-20
-10
24 590 53 Rev. --
WARNING
10W-30
SAE 30
32
40
50
60
80
0
10
20
30
KohlerEngines.com
Before working on engine or equipment, disable
engine as follows: 1) Disconnect spark plug
lead(s). 2) Disconnect negative (–) battery cable
from battery.
Check Oil Level
NOTE: To prevent extensive engine wear or
damage, never run engine with oil level
below or above operating range
indicator on dipstick.
Ensure engine is cool. Clean oil fi ll/dipstick
areas of any debris.
1. Remove dipstick; wipe oil off .
a. Push-on cap: reinsert dipstick into tube;
press completely down.
b. Threaded cap: reinsert dipstick into
tube; rest cap on tube, do not thread cap
100
onto tube.
40
2. Remove dipstick; check oil level. Level
should be at top of indicator on dipstick.
3. If oil is low on indicator, add oil up to top of
indicator mark.
4. Reinstall and secure dipstick.
or
5
