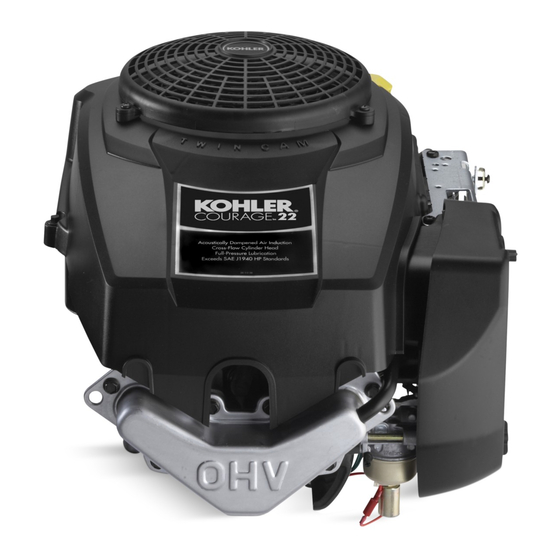
Kohler Courage SV600 소유자 매뉴얼 - 페이지 10
{카테고리_이름} Kohler Courage SV600에 대한 소유자 매뉴얼을 온라인으로 검색하거나 PDF를 다운로드하세요. Kohler Courage SV600 17 페이지. Courage series vertical crankshaft
Kohler Courage SV600에 대해서도 마찬가지입니다: 소유자 매뉴얼 (17 페이지), 소유자 매뉴얼 (17 페이지), 소유자 매뉴얼 (48 페이지)

Service
Precleaner
and Air Cleaner
Element
This engine is equipped with a replaceable, high
density paper air cleaner element. Some engines are
also equipped with an oiled, foam precleaner, located
in the outer air cleaner cover. See Figure 9.
Check the air cleaner daily or before starting
the
engine, Check for a buildup of dirt and debris around
the air cleaner system. Keep this area clean. Also
check for loose or damaged components.
Replace all
bent or damaged air cleaner components.
NOTE:
Operating the engine with loose or damaged
air cleaner components could allow unfiltered
air into the engine causing premature wear
and failure.
7. When precleaner replacement is necessary order
genuine Kohler Part No. 20 083 03-S.
Service Paper Element
Check the paper element every two months or every
25 hours of operation, (more often under extremely
dusty or dirty conditions). Clean or replace the element
as necessary. Replace the air cleaner element
annually, or every 100 hours.
1. Remove the air cleaner cover and the precleaner
(if so equipped), service as required. See Figure 9.
2. Remove the air cleaner element with the integral
rubber seal. See Figure 10.
her Cover
Air Cleaner
Element
Cover
Figure 9. Air Cleaner Assembly
- Details.
Service Precleaner
If so equipped, wash and reoil the precleaner
every two months or every 25 hours of operation,
(more often under extremely dusty or dirty conditions).
1. Loosen the air cleaner cover knobs and remove
the cover. See Figure 9.
2. Removethe
precleaner.
,
Wash the precleaner in warm water with
detergent. Rinse the precleaner thoroughly until all
traces of detergent are eliminated. Squeeze out
excess water (do not wring). Allow the precleaner
to air dry.
4. Saturate the precleaner with new engine oil.
Squeeze out all excess oil.
,
Reinstall the precleaner into the upper section of
the air cleaner cover. Make sure hole in
precleaner is aligned with the upper mounting
knob.
6. Reinstall the air cleaner cover and secure with the
two knobs.
Figure 10. Removing
Air Cleaner Element.
,
Gently tap the pleated side of the paper element
to dislodge dirt. Do not wash the paper element or
use pressurized air, as this will damage the
element. Replace a dirty, bent, or damaged
element with a genuine Kohler element. Handle
new elements carefully; do not use if the rubber
seal is damaged.
4. Clean all air cleaner components of any
accumulated dirt or foreign material. Prevent any
dirt from entering the throat of carburetor.
5. Install the air cleaner element with the pleated
side "out" and seat the rubber seal onto the edges
of the air cleaner base. See Figure 11.
,
Reinstall the precleaner (if so equipped), into the
upper section of the air cleaner cover. Make sure
the hole in precleaner is aligned with the upper
mounting knob. See Figure 9.
7. Reinstall the air cleaner cover and secure with the
two knobs. See Figure 9.
8. When element replacement is necessary, order
Kohler Part No. 20 083 02-S.
10
