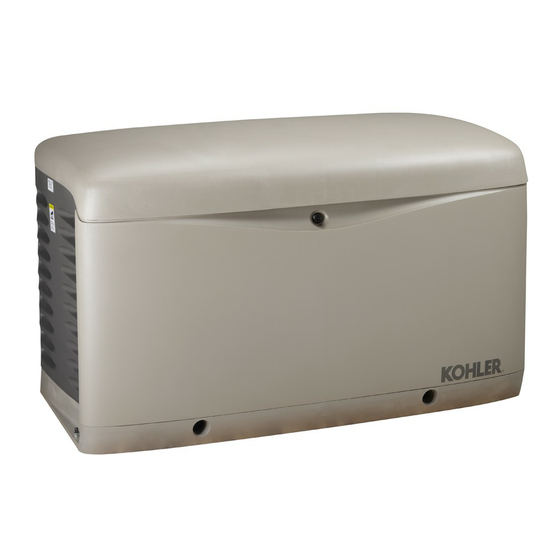
Kohler 14/20RESA 설치 매뉴얼 - 페이지 12
{카테고리_이름} Kohler 14/20RESA에 대한 설치 매뉴얼을 온라인으로 검색하거나 PDF를 다운로드하세요. Kohler 14/20RESA 44 페이지. Residential/commercial generator sets

Approximate generator set weights are shown in
Figure 1-1. Use lifting bars inserted through the holes in
the skid to lift the unit. See the dimension drawings on
the following pages for lifting hole locations.
1.3 Generator Set Inspection
Complete a thorough inspection of the generator set.
Check for the following:
1. Inspect the generator set for loose or damaged
parts or wires. Repair or tighten any loose parts
before installation.
2. Check the engine oil. Fill, if necessary, with the
recommended viscosity and grade of oil. Use
synthetic oil, API (American Petroleum Institute)
Service Class SG or higher.
Operation Manual, for additional information.
1.4 Location and Mounting
Install the generator set outdoors. Choose a location
that is at least 0.9 m (3 ft.) from any building or structure
and near the incoming gas service. Allow a minimum of
2.4 m (8 ft.) clearance beyond the exhaust end of the
generator set. Locate the generator set so that the hot
exhaust does not blow on plants or other combustible
materials.
Do not install the generator set where
exhaust gas could accumulate and seep inside or be
drawn into a potentially occupied building.
Notice
DO NOT locate the generator set near patios,
decks, play areas, or animal shelters. Keep items
such as lawn furniture, toys, sports equipment,
and all combustible materials away from the
generator set exhaust outlet.
Remind family members, children, and visitors to
use caution near the generator set. Generator
sets connected to automatic transfer switches
start automatically during exercise periods and
power outages. Some generator set components
become hot when the generator set is running and
remain hot for a time after the generator set shuts
down.
1.4.1
Mounting Area
The generator set is shipped on an engineered
composite mounting pad. Prepare a flat, level mounting
area covered with a weed barrier and gravel or a
concrete mounting pad. Set the composite mounting
pad directly on the gravel or concrete.
12
Section 1 Installation
Do not install the mounting pad directly on grass, wood,
or other combustible materials. Clear all combustible
materials, including plants and shrubs, building
materials, and lawn furniture, from an area at least 2.4 m
(8 ft.) beyond the exhaust end of the generator set. See
Figure 1-7 in Section 1.5.
1.4.2
Figure 1-2 gives the exhaust temperature at rated load.
The engine exhaust mixes with the generator set
cooling air at the exhaust end of the enclosure. Mount
the generator set so that the hot exhaust does not blow
on plants or other combustible materials. Maintain the
clearances shown in Figure 1-7 in Section 1.5.
Exhaust
See TP-6804,
Exhaust gas exiting the enclosure
at rated kW, _C (_F)
Figure 1-2 Exhaust Flow and Temperature
The generator set requires correct air flow for cooling
and combustion. The inlet and outlet openings in the
sound enclosure provide the cooling and combustion
air. Figure 1-3 shows the locations of the cooling air
intake and exhaust vents. Inspect the air inlet and outlet
openings inside and outside the housing to ensure that
the air flow is not blocked.
The generator set is designed to operate with all
enclosure panels and internal baffling in place. If during
installation, maintenance or repair the unit must be
operated without the complete enclosure and baffling as
shipped from the factory make sure the exhaust panel is
removed as well.
1. Air intake
2. Exhaust outlet
Figure 1-3 Cooling Air Intake and Exhaust
1.5 Dimension Drawings
See the dimension drawings in Figure 1-4 through
Figure 1-7 for the generator set dimensions, fuel and
electric inlet locations, and recommended clearance.
Exhaust Requirements
1
REAR VIEW
Temperature,
_C (_F)
260 (500)
1
2
tp6733
TP-6803 12/11
