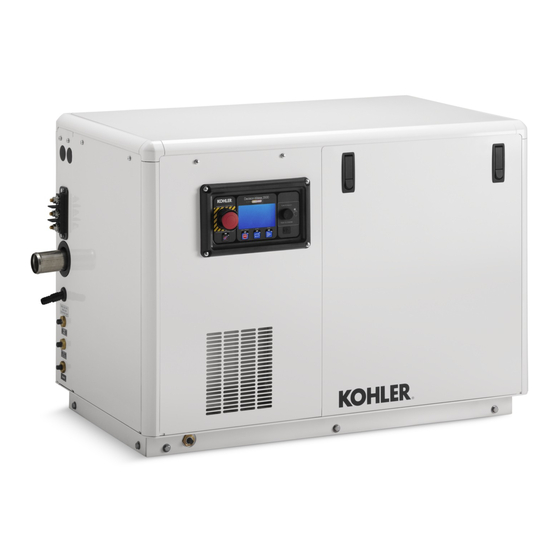
Kohler 20EFKOZD 설치 지침 매뉴얼 - 페이지 2
{카테고리_이름} Kohler 20EFKOZD에 대한 설치 지침 매뉴얼을 온라인으로 검색하거나 PDF를 다운로드하세요. Kohler 20EFKOZD 12 페이지.
Kohler 20EFKOZD에 대해서도 마찬가지입니다: 설치 지침 매뉴얼 (8 페이지)

WARNING
Carbon monoxide.
Can
cause
fainting, or death.
The
exhaust
leakproof and routinely inspected.
Operating the generator set. Carbon monoxide can cause
severe nausea, fainting, or death. Be especially careful if
operating the generator set when moored or anchored under
calm conditions because gases may accumulate. If operating
the generator set dockside, moor the craft so that the exhaust
discharges on the lee side (the side sheltered from the wind).
Always be aware of others, making sure your exhaust is
directed away from other boats and buildings.
WARNING
Hazardous voltage.
Can cause severe injury or death.
Operate the generator set only when
all guards and electrical enclosures
are in place.
Short circuits.
Hazardous voltage/current can cause
severe injury or death. Short circuits can cause bodily injury
and/or equipment damage.
connections with tools or jewelry while making adjustments or
repairs. Remove all jewelry before servicing the equipment.
Installation Procedure
Note: Read all safety precautions at the beginning of
this publication before performing any work on
the generator set.
Note: Apply pipe sealant to the male threads of all pipe
fittings before installation.
1.
Remove the generator set from service.
1.1
Press
the
generator
OFF/RESET button.
2
severe
nausea,
system
must
be
Moving parts.
Do not contact electrical
set
master
control
1.2
Disconnect the generator set engine starting
battery, the negative (--) lead first.
1.3
Remove the junction box panel(s) as needed to
access the wiring.
1.4
Remove the four controller panel screws.
Note: Clearly mark all disconnected leads from
the controller with tape to simplify
reconnection.
1.5
Disconnect the following controller connectors.
See Figure 2. See the wiring diagram found in the
operation manual for more details on wiring.
P1 (35-pin) connector
D
P2 (14-pin) connector
D
P3 (8-pin) connector
D
P4 Ethernet connector
D
Any other external leads to the controller
D
3
2
1. P1 (35-pin) connector
2. P2 (14-pin) connector
3. P3 (8-pin) connector
4. P4 Ethernet connector
Figure 2 Decision-Makerr 3500 Controller
1.6
Remove the controller. Save the hardware and
gasket to remount the controller into the sound
shield's controller panel later.
1.7
Assemble the mounting brackets to the generator
drip tray as shown in Figure 3. Secure using the
screws (M933-08020-SS) and washers (X-25-139)
in the quantities specified in Figure 3.
1.8
Install the bushings (X-634-28 qty. 2) to the
alternator-end mounting bracket as shown in
Figure 3, item 5.
1
4
TT-1651 4/17a
