Aqua Computer AQUASTREAM XT USB 사용자 및 운영 매뉴얼 - 페이지 6
{카테고리_이름} Aqua Computer AQUASTREAM XT USB에 대한 사용자 및 운영 매뉴얼을 온라인으로 검색하거나 PDF를 다운로드하세요. Aqua Computer AQUASTREAM XT USB 16 페이지.
Aqua Computer AQUASTREAM XT USB에 대해서도 마찬가지입니다: 사용자 및 설치 설명서 (20 페이지)

aqua
computer
Version 11/2007
MANUAL AQUASTREAM XT
6. Electronical connections
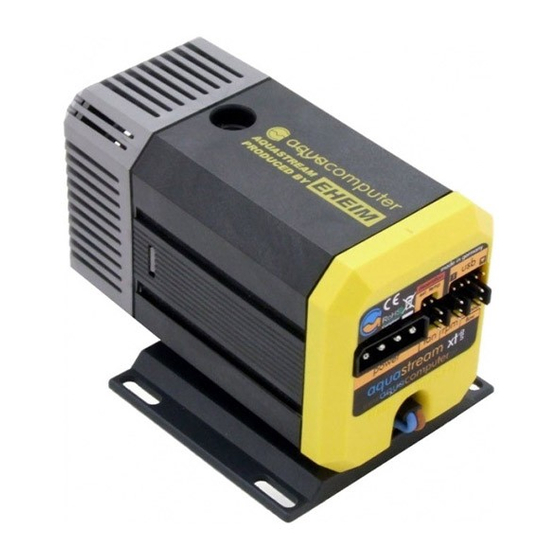
6.1. Connector panel of the pump
The control electronics is integrated on
the rear side of the pump. The built-in
circuit board offers connectivities for
power
supply,
fans,
speed
signal,
aquabus
or
flow
sensor,
external
temperature sensor and USB. Please take
into account that depending on the
variant some connections can be without function.
Turn the power supply unit off completely before you attach or disconnect
external components!
In the following chapters the functions of the individual connections are
described.
6.2. Making USB connection to the Mainboard
To be able to control and monitor the pump through the software a USB
connection to the PC must be made. This connection, however, is not
imperative for the operation of the pump. Connect the enclosed USB cable to
the USB port of the Mainboard while the PC is turned off. Pay attention to the
correct orientation of the cable since the pump and/or your computer can
otherwise be damaged.
You see a "1" as well as a little arrow on the USB plug. You find these "1" and
the arrow also at the connection "usb" on the rear sticker of the pump. At a
top view from behind the black wire is on the left and the red wire is on the
right.
6.3. Attaching speed signal cable
Attach the enclosed speed signal cable with one end at the connection "rpm"
while the PC is turned off. Connect the other end to a free fan connector e.g.
on your Mainboard.
6.4. Attaching a fan (only advanced- and ultra-variant)
SAttach a fan to the connection "fan" while the PC is turned off. Please take
into account that the maximum load should not exceed 5 W. The aquastream
Page 6
Aqua Computer GmbH und Co. KG
© 2007
Gelliehäuser Str. 1 – D-37130 Gleichen - Germany
