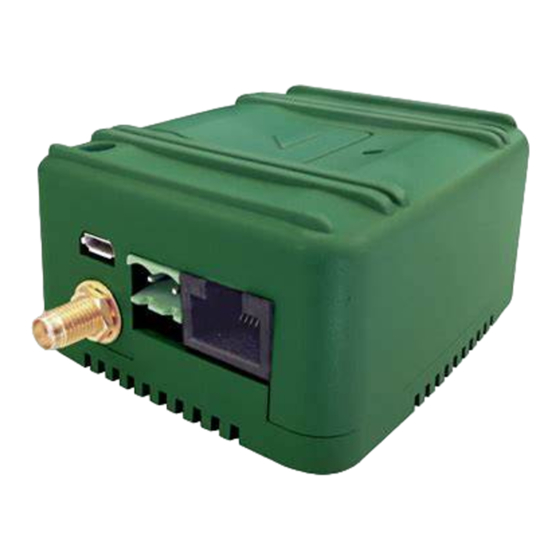
DEXMA DEXGate2 빠른 시작 매뉴얼 - 페이지 3
{카테고리_이름} DEXMA DEXGate2에 대한 빠른 시작 매뉴얼을 온라인으로 검색하거나 PDF를 다운로드하세요. DEXMA DEXGate2 8 페이지.

1.
DEXGate2 connection
1. Connect the Wireless antenna on the connector under the miniUSB port.
2. Connect the DEXGate2 to Internet. You have 2 options to connect the DEXGate2 to Internet:
a. Ethernet: To connect the DEXGate 2 via Ethernet connect the Ethernet cable to DEX-
Gate2 and to the local network.
b. GPRS/3G (only DEXGate2-3G): To connect the DEXGate2 to 3G, connect the 3G anten-
na into the connector. Then, insert the SIM into the slot on the top of the datalogger.
It is recommended that you disable the PIN of the SIM card from a mobile phone before
inserting it into the DEXGate2.
3. Power on the DEXGate2 by connecting it through a Power Supply (7 to 50V DC).
2.
Access the administration portal
1. Wait about 1 minute and connect your laptop, smartphone or tablet to the WiFi called DEX-
GATE_XXXXXXXXXXXX, where XXXXXXXXXXXX is the identifier of the DEXGate2.
2. To access the network you must enter the password (the default password is the identifier
of your DEXGate2 in capital letters)
3. Open your Internet browser, go to http://172.16.0.1 and once the page is loaded enter the
username and password (default for both is "admin").
4. Write down the device ID, that you will find on the menu "Status" at your DEXGate2 or at
the sticker on the device, which will be necessary to register the device at DEXCell Energy
Manager (the identifier has the format 00D09 ...).
3.
Internet settings
1. Ethernet: Go to System > Ehernet and Enable DHCP* or disable it and enter the configura-
tion data of the network provided by your network administrator.
(* In case of doubt, ask your system administrator).
2. GPRS/3G (only DEXGate2-3G): Go to System>GPRS/3G, enable the connection and enter
the relevant data regarding the operator of the SIM.
• It is recommended that you disable the PIN of the SIM card from a mobile phone be-
fore inserting it into the DEXGate2
