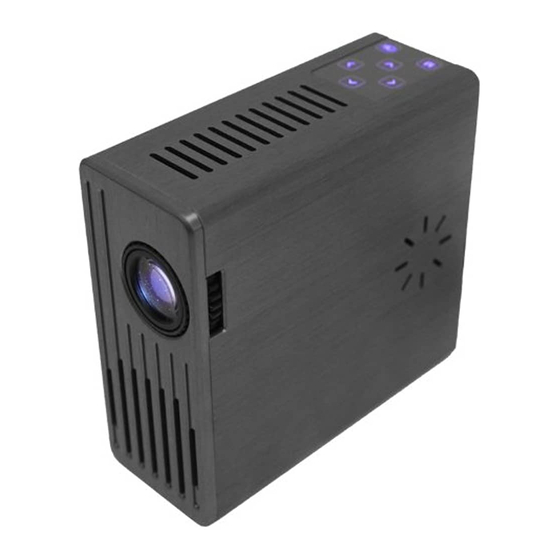
AAXA Technologies M1 Standard 사용자 설명서 - 페이지 10
{카테고리_이름} AAXA Technologies M1 Standard에 대한 사용자 설명서을 온라인으로 검색하거나 PDF를 다운로드하세요. AAXA Technologies M1 Standard 17 페이지.
AAXA Technologies M1 Standard에 대해서도 마찬가지입니다: 사용자 설명서 (16 페이지), 사용자 설명서 (18 페이지), 사양 (2 페이지), 사양 (2 페이지)

General Operation
To connect an A/V cable insert the 3.5mm portion into the A/V port of the projec-
tor. Then click on either the "A/V input" icon in the main menu, or press "source" on
the remote control and select "A/V input". A blue screen will appear and the
Projector will be ready to accept an A/V signal.
Possible A/V sources: Composite (included), Iphone / Ipod (optional), Zune
(optional), Playstation Portable (optional), and others. Please check
www.aaxatech.com or your AAXA dealer for optional A/V cables.
Accessing the onboard memory
The M1 projector includes 1GB of onboard memory for storage.
To access this memory connect a USB cable to the back of the
projector and a computer. Then select the "USB Data" function
in the main menu.
The computer should auto-detect the connected projector and its onboard
memory as a " ash drive. " Double-click the drive to open the drive contents and
manipulate as a standard USB ash drive.
NOTE: If the computer fails to detect the ash drive, check to make sure the projec-
tor is in USB-Data mode and do a search for new devices. If still unable to nd the
drive, please consult with your operating system's owner manual regarding
detecting ash drives.
09
