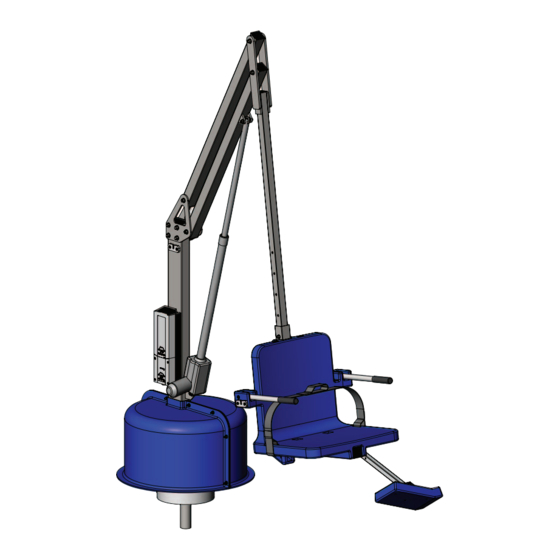
Aqua Creek Revolution 매뉴얼 - 페이지 6
{카테고리_이름} Aqua Creek Revolution에 대한 매뉴얼을 온라인으로 검색하거나 PDF를 다운로드하세요. Aqua Creek Revolution 14 페이지.
Aqua Creek Revolution에 대해서도 마찬가지입니다: 매뉴얼 (16 페이지)

STEP 2: INSTALL LIFTING ARM
Locate the LIFTING ARM and the following hardware:
• (1) 1/2" x 2-3/4" SHOULDER BOLT
• (1) 3/8" x 2" SHOULDER BOLT
• (1) 5/16" FLAT WASHER
• (1) 5/16" NYLOCK NUT
• (1) 3/8" FLAT WASHER
• (1) 3/8" NYLOCK NUT
Remove the shipping strap and all packing from
the LINEAR ACTUATOR. Connect the LIFTING ARM
between the MAST and the LINEAR ACTUATOR as
shown in the figure below. Make sure the end marked
"B" attaches to the mast. Tighten NYLOCK NUTS (2)
until snug as shown in PHOTO 2.
DO NOT OVERTIGHTEN!
1/2" X 2-3/4"
3/8" FLAT WASHER
SHOULDER
BOLT
A
B
B
3/8" X 2"
SHOULDER
BOLT
MAIN
ASSEMBLY
6
Copyright © 2016 Aqua Creek Products All Rights Reserved
Revolution Assembly Instructions
3/8" NYLOCK NUT
LIFTING ARM
5/16" NYLOCK
NUT
5/16" FLAT
WASHER
LINEAR
ACTUATOR
STEP 2
STEP 3: INSTALL CONTROL ARM
Locate the CONTROL ARM and the following
hardware:
• (1) 1/2" x 2-3/4" SHOULDER BOLT
• (1) 3/8" FLAT WASHER
• (1) 3/8" NYLOCK NUT
Install the CONTROL ARM (end marked "A") onto
the MAST as shown in the figure below. Tighten the
NYLOCK NUT until snug as shown in PHOTO 3. DO
NOT OVERTIGHTEN!
1/2" X 2-3/4"
SHOULDER
BOLT
MAIN
D
ASSEMBLY
3/8" NYLOCK
NUT
3/8" FLAT
WASHER
CONTROL
A
A
ARM
B
B
STEP 3
Revised 8/11/16
