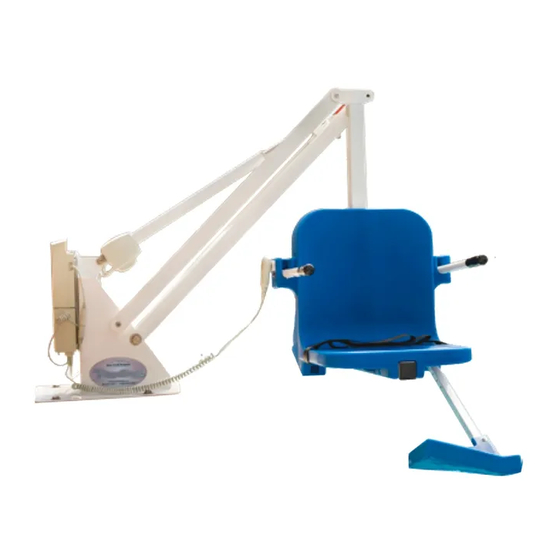
Aqua Creek Products Ranger 2 매뉴얼 - 페이지 7
{카테고리_이름} Aqua Creek Products Ranger 2에 대한 매뉴얼을 온라인으로 검색하거나 PDF를 다운로드하세요. Aqua Creek Products Ranger 2 20 페이지. Pool lift
Aqua Creek Products Ranger 2에 대해서도 마찬가지입니다: 사용 설명서 (18 페이지), 매뉴얼 (16 페이지), 매뉴얼 (12 페이지), 매뉴얼 (16 페이지)

FIGURE A
2. Mark out a section of the pool deck that you are removing. Plan on removing at least
4 feet 0 inches by 4 feet 0 inches.
3. Cut along your marks with a diamond blade
concrete saw.
4. Using the sledge hammer break up the concrete
within the cut area and remove the pieces.
5. Install rebar in the open area of the deck. Tie the
rebar into the existing deck if possible.
6. Set the anchor system in place. For ADA compliance
and clearance, make sure the center of the large
anchor jig plate hole is between 14.5 and 19 inches
from the pool's edge.
7. Using the string line or a straight edge, confi rm the top of each anchor body is level with the
FINISHED deck surface. Each anchor body can be individually adjusted by turning the nuts with a
large wrench.
8. Bond the anchoring system according to your local code requirements by using the bonding
lug on the anchor plate.
9. Pour concrete and fi nish the pool deck surface.
10. Once the concrete has cured, the lift is ready to be mounted to the anchoring system.
Copyright © 2021 Aqua Creek Products All Rights Reserved
Anchor Installation: Saw-Cut Retro-Fit
You Will Need:
• Concrete saw with diamond blade
Bonding Lug
Bonding Lug
• Tape measure
• 4' long straight edge or chalk line
• Sledge hammer
• Cold chisel
1. Remove 1 nut from each anchor insert. Place the anchor
inserts through the larger hole of the anchor jig plate.
Thread the removed nuts back onto the anchor inserts. The
anchor plate should be sandwiched between the two nuts
on each anchor insert.
SEE FIGURE B
SEE FIGURE C, PAGE 8
SEE FIGURE C, PAGE 8 (See NEC Article 680.26)
SEE FIGURE A
SEE FIGURE A
• Torpedo level
• String Line
• Concrete & concrete
fi nishing tools
• #5 rebar
FIGURE B
Revised 5/28/21
7
