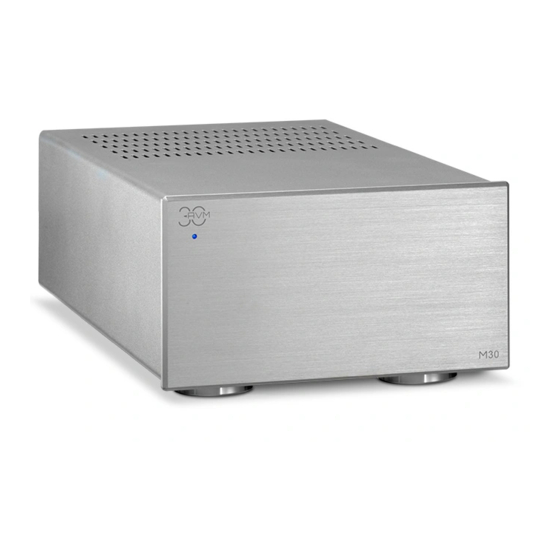
AVM A 30.3 사용 설명서 - 페이지 8
{카테고리_이름} AVM A 30.3에 대한 사용 설명서을 온라인으로 검색하거나 PDF를 다운로드하세요. AVM A 30.3 13 페이지. Integrated amplifier
AVM A 30.3에 대해서도 마찬가지입니다: 사용 설명서 (20 페이지)

1.4 Installation and cooling
The MA 30.3 power amplifiers are cooled via the floor. Thus, it is very important that the air
supply from below, as well as the flow of the heated air through the slots of the lid is unhindered.
Ideally, both mono blocks are set up as freely as possible. When placing the units on a carpeted
floor, you should also make sure that the feet of the unit do not sink in (if necessary, place
pucks underneath) and that the pile of carpet does not obstruct the air flow on the floor. Also
make sure that the installation location is protected from direct sunlight.
1.5 Connection to mains
Connect the supplied power cable to the power supply connection (9) and a shockproof socket.
NOTE: Please leave the device switched off (power switch (10) in zero position) until you have
established all cable connections to the rest of the system.
1.6 Connecting a preamplifier
Your MA 30.3 are equipped with one XLR (2) and one RCA input socket (3) each, which you
can use alternatively. Here, the preamplifier is connected with a suitable cable. In case of longer
connection distances, we recommend a balanced XLR connection, since this can shield
possible interferences more effectively than an unbalanced RCA cable.
NOTE: The output impedance of your preamplifier together with the capacity of the audio cable
forms a low pass filter. When selecting the connection cables (especially for long connection
paths), you should therefore ensure that the output impedance of the preamplifier is as low as
possible and that the cable capacity is low in order not to influence the transmission of high
frequency components in the music signal. Preamplifiers from AVM such as the PA 30.3
preamplifier from the AVM30 series are always low impedance,
1.7 Connection of a switching voltage
You can connect the switching signal of your preamplifier (if available) to the TRIGGER input
(4). This allows the MA 30.3 to be conveniently switched on remotely as soon as the preamplifier
is switched on. The assignment of the control socket is described in section 1.3.
NOTE: Please note that to play back a digital signal, an appropriate source with a compatible
input signal must be present. Otherwise the message NO DIG SIGNAL will appear on the right
side of the display instead of a volume value.
8
