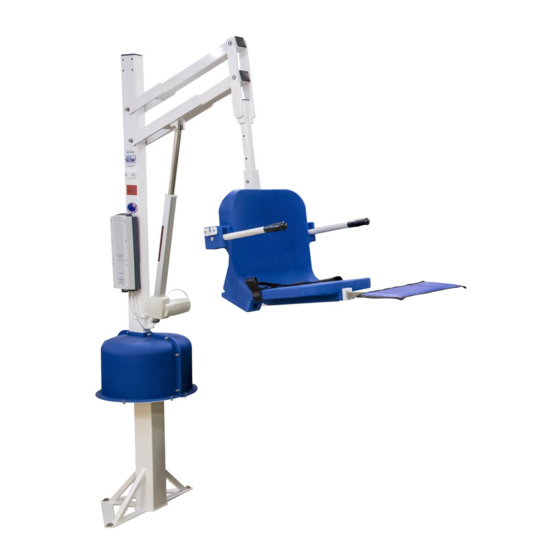
Aqua Creek Products SPA LIFT ULTRA 매뉴얼 - 페이지 5
{카테고리_이름} Aqua Creek Products SPA LIFT ULTRA에 대한 매뉴얼을 온라인으로 검색하거나 PDF를 다운로드하세요. Aqua Creek Products SPA LIFT ULTRA 12 페이지.
Aqua Creek Products SPA LIFT ULTRA에 대해서도 마찬가지입니다: 매뉴얼 (11 페이지), 지침 매뉴얼 (12 페이지)

Spa Lift Ultra Installation and Assembly
1. Once the anchor inserts have been installed, the base weldment can now be secured to the deck using the 1/2
inch hex bolts and washers. See FIGURE 2.
2. Attach the mast assembly to the base, as shown in FIGURE 3, using
the 3/8 inch nylock nuts and fl at washers. This may require two people.
SPA LIFT
BASE WELDMENT
1/2" EXTERNAL
TOOTH WASHER (1)
1/2" X 1 1/2"
HEX BOLT (3)
1/2" FLAT
WASHER (2)
1" X 8" ANCHOR
INSERT (3)
3. Attach the lifting arm (identifi ed by the two actuator mounting tabs opposed to the control arm which has
no tabs) to the mast assembly using the 1/2 inch shoulder bolt and 3/8 inch nylock and fl at washer. Be sure the
actuator mounting tabs on the lifting arm are facing downward. See FIGURE 4.
4. After the lifting arm is secured to the mast, attach the actuator to the mast and the lifting arm with the 3/8 inch
shoulder bolts and 5/16 inch nylocks and fl at washers as shown in FIGURE 5. Make sure the actuator head faces
the opposite direction of the control box. If rotated the other way, the actuator head might hit the mast.
LIFTING ARM
ACTUATOR
MOUNTING
TABS
3/8" FLAT WASHER
3/8" NYLOCK
MAST ASSEMBLY
FIGURE 4
Copyright © 2019 Aqua Creek Products All Rights Reserved
FIGURE 2
1/2" X 3"
SHOULDER BOLT
LOWER ATTACHMENT
POINT
BASE WELDMENT
5/16" FLAT WASHER
5/16" NYLOCK
ACTUATOR
5/16" FLAT WASHER
5/16" NYLOCK
FIGURE 5
MAST ASSEMBLY
3/8" FLAT
WASHER (4)
3/8" NYLOCK
NUT (4)
FIGURE 3
LIFTING ARM
3/8" X 2"
SHOULDER BOLT
MAST ASSEMBLY
3/8" X 1 1/4"
SHOULDER BOLT
5
Revised 8/22/19
