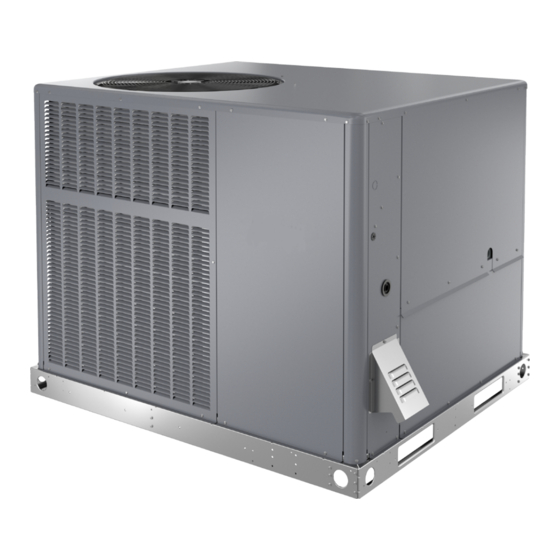
Allied PRPGN14 Series 설치 및 유지보수 지침 매뉴얼 - 페이지 14
{카테고리_이름} Allied PRPGN14 Series에 대한 설치 및 유지보수 지침 매뉴얼을 온라인으로 검색하거나 PDF를 다운로드하세요. Allied PRPGN14 Series 19 페이지. Residential packaged units
THERMOSTAT
R
C
Y1
W
G
SINGLE PHASE
L2
POWER WIRING
(75° MIN. WIRE)
POWER WIRING
24V CONTROL WIRING
(NEC CLASS 2)
Figure 6. Typical Wiring Connections
Thermostat
The room thermostat should be located on an inside
wall where it will not be subject to drafts, sun exposure,
or heat from electrical fixtures or appliances. Follow the
manufacturer's instructions enclosed with thermostat for
general installation procedure. Color-coded insulated wires
(#18 AWG) should be used to connect the thermostat to
the unit.
Four wires are required for cooling. The heat anticipator
setting is 0.75 amp.
Compressor
Units are shipped with compressor mountings factory-
adjusted and ready for operation.
Do not loosen compressor mounting bolts.
Page 14 of 19
OUTDOOR UNIT
R
Red
Blue
C
Yellow
Y1
W
White
G
Green
L1
GROUND
SCREW
208/230-1-60
CAUTION
For Your Safety, Read Before Lighting
Furnace is equipped with a direct ignition control. Do
not attempt to manually light the burners.
Pre-Start Checklist
Complete the following checks before starting the unit:
1.
Check the type of gas being supplied. Be sure it is the
same as listed on the unit nameplate.
2.
Make sure that the vent cover has been properly
installed.
To Light Main Burners
1. Turn off electrical power to unit.
2.
Turn the thermostat to lowest setting.
3.
Slide the gas valve switch to the "ON" position (see
Figure 7).
4.
Turn on electrical power to the unit.
5.
Set the room thermostat to the desired temperature.
(If the thermostat "set" temperature is above room
temperature after the pre-purge time expires, main
burners will light.)
Positive Air
Pressure
Sensing Port
To Shut Down Main Burners
1.
Turn off electrical power to unit.
2.
Slide the gas valve switch to the "OFF" position (see
Figure 7).
Issue 2125
Heating Start-Up
CAUTION
Negative Air
Pressure
Sensing Port
Figure 7. Gas Valve
508160-01