Aqua Medic Schwefelnitratreductor SN Blue 운영 매뉴얼 - 페이지 8
{카테고리_이름} Aqua Medic Schwefelnitratreductor SN Blue에 대한 운영 매뉴얼을 온라인으로 검색하거나 PDF를 다운로드하세요. Aqua Medic Schwefelnitratreductor SN Blue 16 페이지.

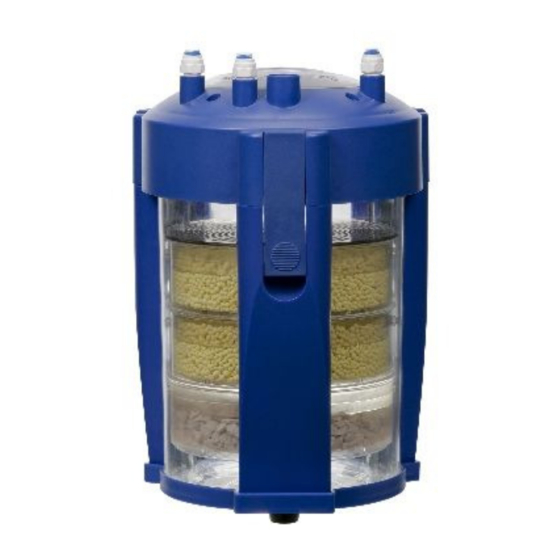
got a sealing (5) on top. Also, these baskets have got a groove and must not tilt. The sequence of
the baskets is not important. After having inserted the baskets, the handles (3) have to be pressed
into the hydrocarbonate completely. Only the upper bracket rests level so the other handles can be
taken out of the media, if necessary. Make sure that the upper basket with the round grid (4) is
closed and the reducing nozzle (9) is fixed at the suction side of the pump. The lid has to be put on
the way that the pump outlet is situated above the pipes of the baskets. Laterally at the lid, there
is a pin that has to clutch into an appropriate uptake of the container.
As soon as the Nitrate filter is placed in the correct position and all connections are ready, the
water flow can be started. The inlet is marked by "IN" (10), the outlet by "OUT" (12). Connection
No. 11 is not necessary. Before you open the Sulphur-Nitratereductor SN Blue after filling, you
have to let off the water from the lid. This is done most simply by hanging the hose of the inlet
(IN) in a lower placed bucket or into the drain. Since the inlet is extended inside, the reactor runs
dry automatically up to this point.
Please don't pull on the cable to open the lid but hold under the lid's edge.
The back flow into the aquarium or the filter tank should be directed to a well-flushed place in
order to mix it immediately with the aquarium water. The drip counter (14), included in delivery, is
used for a safe mounting of the hose as well as for controlling the flow.
7. Maintenance
The Aqua Medic Hydrocarbonate (coarse grain) is consumed by the chemical reaction and has to
be refilled from time to time. Furthermore, it should be replaced completely regularly since the
grain size decreases and thus flow and circulation drop. The same applies for the sulphur beads.
Also the flow rate should be checked regularly.
The pump should be cleaned occasionally. To do so, the cap of the pump housing (8) has to be
taken off. One hand holds the pump inlet and the other one the pump outlet, then the cap has to
be drawn to the top. Take care not to tilt since otherwise, the ceramic axle might break.
8. Warranty
Should any defect in material or workmanship be found within 12 months of the date of purchase
AB Aqua Medic GmbH undertakes to repair or, at our option, replace the defective part free of
charge – always provided the product has been installed correctly, is used for the purpose that was
intended by us, is used in accordance with the operating instructions and is returned to us carriage
paid. The warranty term is not applicable on the all consumable products.
Proof of Purchase is required by presentation of an original invoice or receipt indicating the dealer's
name, the model number and date of purchase, or a Guarantee Card if appropriate. This warranty
may not apply if any model or production number has been altered, deleted or removed,
unauthorised persons or organisations have executed repairs, modifications or alterations, or
damage is caused by accident, misuse or neglect.
Please note that the product is not defective under the terms of this warranty where the product,
or any of its component parts, was not originally designed and / or manufactured for the market in
which it is used. These statements do not affect your statutory rights as a customer.
If your AB Aqua Medic GmbH product does not appear to be working correctly or appears to be
defective please contact your dealer in the first instance.
Our policy is one of continual technical improvement and we reserve the right to modify and adjust
the specification of our products without prior notification.
AB Aqua Medic GmbH - Gewerbepark 24 - 49143 Bissendorf/Germany
- Technical changes reserved – 03/2016
8
