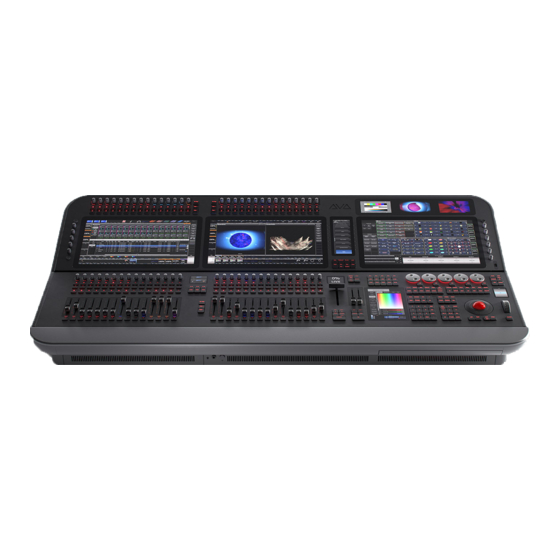
Avolites D9-330 매뉴얼 - 페이지 10
{카테고리_이름} Avolites D9-330에 대한 매뉴얼을 온라인으로 검색하거나 PDF를 다운로드하세요. Avolites D9-330 20 페이지.

Quick Start
P O W E R I N G U P C O N S O L E
P O W E R I N G D O W N C O N S O L E
C O N N E C T I N G E X T E R N A L M O N I T O R S
( B R A C K E T S A N D C L A M P S S O L D S E PA R AT E LY )
C O M PAT I B I L I T Y
10
1. Unpack the console.
2. Remove the dust cover.
3. Place the device along with the bottom half of the
flight case onto a stable surface (recommended).
4. Using the push down latch raise the back panel.
1. Insert powerCON TRUE1 into the corresponding
jack.
2. Fit console lights.
2. Connect the main power plug.
3. Turn on the red power switch located on rear of
the console. Observe that the mains present neon is
lit
4. Press the power switch located under the arm
rest.
5. Once the software has fully launched and
the show file has loaded, you can then begin
programming.
1. Press the power switch located under the arm rest.
2. Switch off the power button located on the
back and remove powerCON TRUE1 from the
corresponding jack when the console has finished
powering down.
3. Return screen to home position using the push
down back panel.
4. Apply dust cover.
T O E N S U R E T H E C O N S O L E I S R U N N I N G T H E L AT E S T
S O F T WA R E V E R S I O N , P L E A S E V I S I T H T T P S : // W W W. AV O L I T E S .
C O M/S O F T WA R E .
You can enjoy a complete system mounting option
by using the external monitor brackets to mount
additional displays.
To take advantage of this, securely hand-tighten the
provided brackets to the flight case. Place the VESA
bracket in position on the back of the monitor and
attach using the provided screws. Apply and tighten
the monitor clamps to the brackets.
19 to 24-inch monitors weighing between 2.2kg to
5.5kg.
VESA 100 x 100 mm
