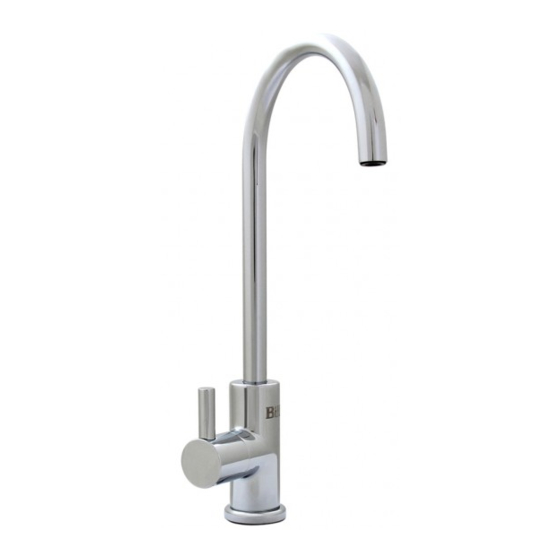
Billi B1000RBR 사용자 설명서 - 페이지 4
{카테고리_이름} Billi B1000RBR에 대한 사용자 설명서을 온라인으로 검색하거나 PDF를 다운로드하세요. Billi B1000RBR 8 페이지.

User guide
Billi B-1000.
Billi Filter Cartridges
The B-1000 features the Billi dual stage
filtration system . It is fitted with single
dual stage filter incorporating sediment and
chemical removal elements . All B-1000 filters
are manufactured using bacteria and biofilm
resistant materials for improved water quality .
Premium filters provide a better tasting water
due to the high quality, carbon chemical
removal filter . Sub-micron rated, these
filters have excellent chemical absorption,
removing or reducing chlorine, volatile organic
compounds (VOCs), chemicals, tastes and
odours . All drinking water filtration systems
should be flushed after a period
of non-use .
There are 2 types of filter cartridge sets
offered .
994001
5 . 0 micron replacement filter
994002
0 . 2 micron replacement filter
Use only genuine Billi Filter Cartridges as
designed for this system.
If the system has not been used for a period
of 3 days or more, lift the dispenser lever and
flush the system for at least 1 minute .
Filter Cartridges Service Interval
Periodic replacement of your Billi B-1000
filter cartridge is necessary to maintain the
sparkling freshness of your drinking water .
Your Billi Representative will advise you of
an appropriate service interval . As a guide,
the filters should be serviced twice yearly .
In areas where water supply has a high level
of sediment, more frequent replacement of
filter cartridges may be necessary . This will
become evident when a significant drop in
delivery flow rate occurs .
4
Filter Cartridge Replacement
When you receive your replacement
cartridges, follow the procedure as
outlined below:
1 . Turn off water supply to unit .
2 . Remove front panel to unit .
3 . Turn temperature control to OFF
4 . Open tap to release any pressure .
5 . Close tap .
6 . Grasp the bottom of the filter and pull
towards yourself slowly . The top of the
filter is in a hinged cradle assembly .
It should stop after approximately
30 degrees of travel .
7 . The filter can now be released from the
holding cradle by pulling down on the filter .
8 . Take care not to spill water in the base
of the tray . If so wipe gently with blotting
paper .
9 . Install new filter into the same location
by pushing up into the cradle all the way .
10 . Push filter forward until upright and
locked in place .
11 . Turn water supply to unit on .
12 . Open tap again .
13 . Run water for 2-3 minutes to flush all
air out and condition the filter .
14 . Close tap .
15 . Check for any leaks from around the filter,
hosing or pipe work .
16 . Turn temp control to ON & set temperature
to desired level .
17 . Close front cover .
