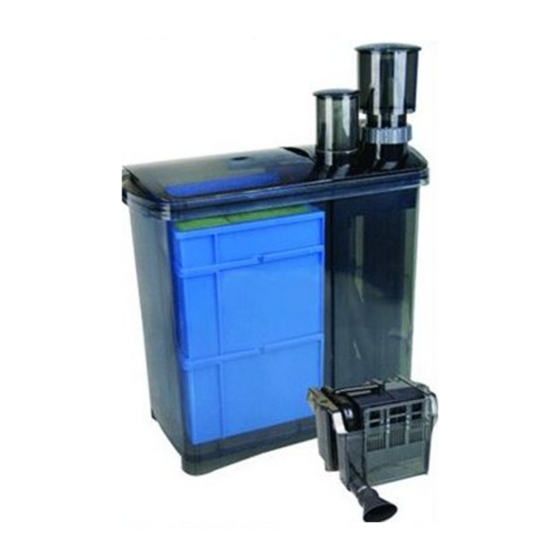
Aqua One MariSys 240 매뉴얼 - 페이지 7
{카테고리_이름} Aqua One MariSys 240에 대한 매뉴얼을 온라인으로 검색하거나 PDF를 다운로드하세요. Aqua One MariSys 240 15 페이지.
Aqua One MariSys 240에 대해서도 마찬가지입니다: 빠른 설정 매뉴얼 (2 페이지)

Set Up Instructions
Setting up the Filter Media
For the following section refer to Diagrams 1 &
2 on pages 3,5 & 6 of this instruction booklet.
Locate and organise all parts before assembly.
Familiarise yourself with the parts and where
they fit. (Refer to the Quick Set Up Guide and
Exploded View sheet) The only tools you will
need to assemble your MariSys Filter are a
flathead screwdriver, a utility knife and a tape
measure.
1. Remove the Media Access Lid (1) from the
top of the Filter Box (2), lift and remove the Drip
Tray (3).
2. Lift the handles and remove all of the Media
Baskets (4) from the Filter Box and take them to
the sink.
3. Ensure there is no soap or any other residue
around the sink area.
4. Remove the Carbon Pillow and CeramiSub
from the plastic bag, rinse them along with all of
the other filter media under tap water.
5. Refer to the diagram on page 4 for the
correct placement of the media and the order in
which they should be placed in the Filter Box.
6. Return the Media Baskets to the Filter Box.
7. Do not replace the Drip Tray or Media Access
Lid yet.
Setting up the Power Head
For the following section refer to Diagram 2 on
page 5 of this instruction booklet.
1. Remove the Power Head (5) from the box
marked PUMP.
2. Check the Intake Elbow is firmly inserted and
facing downwards.
3. Ensure your hand is dry and plug the Power
Head in to ensure it is working. DO NOT stick
fingers or inanimate objects into the pump if it
does not work. Refer to the Maintenance
section of this booklet for instruction on
disassembling the unit.
4. Remove the Power Head / Protein Skimmer
Housing (6) from the Filter Box.
Please Note: This may be a tight fit.
5. Connect the Flexible Tubing to the Outlet of
the Power Head. Ensure it is connected
correctly.
6. Insert the Power Head into the Housing. You
will notice there are 4 holes where the rubber
feet on the Power Heads Base are intended to
sit.
7. Feed the Power Cord through the Housing.
You will notice the Power Cord Cutout (7) near
the top of the Airstone Housing.
8. At the top of the housing there is a blue
O-ring. Lubricate this with an aquarium safe
lubricant. This will improve the seal and allow
the Housing to be removed easier when
maintenance is required.
9. Slide the Power Head / Protein Skimmer
Housing back into the Filter Box. Be sure the
Power Cord from the Power Head is feed
through the Power Cord Cutout.
10. DO NOT FORCE the unit together. If it feels
tight lift the Housing back out and try again.
11. Place the Drip Tray back ontop of the Media
Baskets and refit the Media Access Lid.
Setting up the Overflow Box
For the following section refer to Diagrams 1 &
3 on pages 5 & 6 of this instruction booklet.
1. Position the MariSys in the stand / cabinet
under the aquarium or to the side next to the
stand.
2. Place the Overflow Box (8) on the rear or
side of the aquarium. Initially the height of the
box should be at its lowest setting. The two
Adjusting Screws (9) on each side will allow for
the Overflow Box to be raised or lowered.
To lower the aquarium's water level, turn the
adjusting screws anti-clockwise, this will reduce
the height of the Overflow Box To raise the
water level in the aquarium, turn the adjusting
screws clockwise to move the box back up.
7
