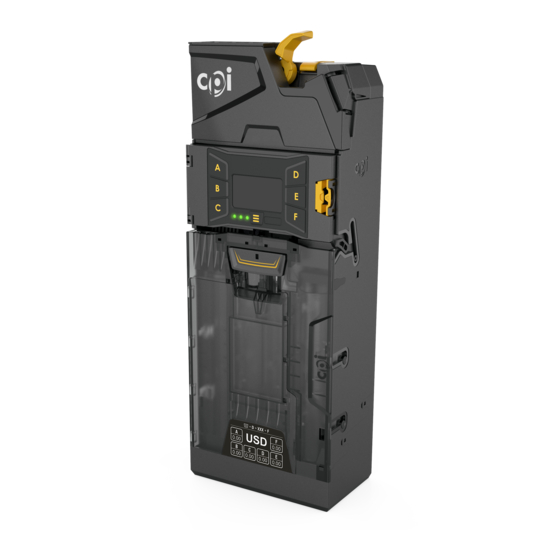
CPI GRYPHON 기술자 매뉴얼
{카테고리_이름} CPI GRYPHON에 대한 기술자 매뉴얼을 온라인으로 검색하거나 PDF를 다운로드하세요. CPI GRYPHON 5 페이지. Coin changer
CPI GRYPHON에 대해서도 마찬가지입니다: 설치 매뉴얼 (4 페이지)

Gryphon™ coin changer
technician guide
Components
Key coin changer components are identified below.
No.
Item
1
Coin return
2
Validator latch
Man machine
3
interface (MMI)
4
Diagnostic LEDs
5
Cassette
6
Dispenser
Cassette release
7
tab
8
Micro USB port
Keypad
The MMI screen displays messages related to current operational status and menu selections.
Always follow on-screen messages. See menu navigation tips below.
No.
Description
1
Display
Press keys A-F to navigate user menus. See
Keys A-F are also used to dispense coins from corresponding tubes
2
when in normal operating mode.
3
Move left
4
Move right
5
Scroll up
6
Scroll down
7
Previous page
8
Next page
Press to access
Press once to display previous menu.
9
Hold for 3 seconds to return to home screen.
10
Diagnostic
LEDs: red, amber, and green.
© 2023 Crane Payment Innovations. All rights reserved.
v1.0 EN
Description
Press to reject a coin and open the validator door.
Pull to remove the validator assembly.
Use this screen and keypad to interact with and
update the coin changer.
Displays the status of the coin changer with red,
amber, and green LEDs.
Stores coins for dispensing as change.
Dispenses coin returned as change.
Lift and pull to remove cassette from main housing.
Connect to a PC or USB memory stick for reading
audits, changing settings, and updating firmware.
Service
and
Setup
menus.
Symbols
for details.
1
2
3
4
7
5
6
3
4
1
7
9
10
2
CPI support
8
5
6
8
1
