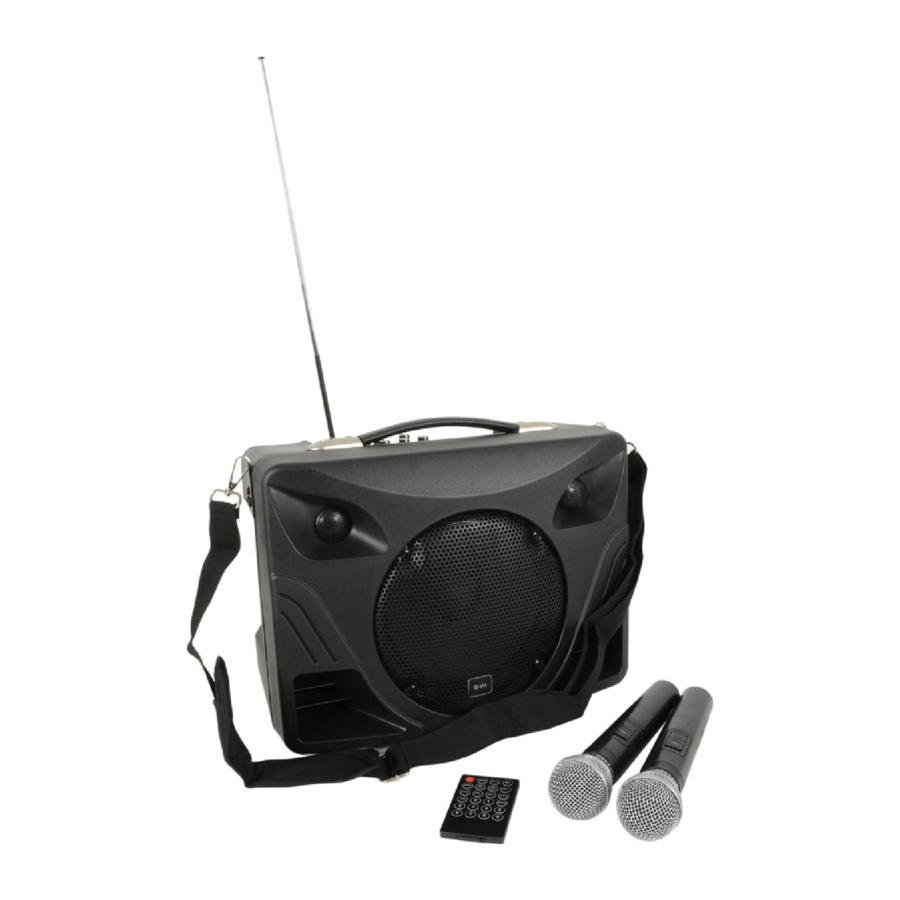
Avsl QTX DELTA-200 사용자 설명서 - 페이지 4
{카테고리_이름} Avsl QTX DELTA-200에 대한 사용자 설명서을 온라인으로 검색하거나 PDF를 다운로드하세요. Avsl QTX DELTA-200 8 페이지. Performance pa with bluetooth

Operation
Your new DELTA-200 portable PA unit may arrive with you with the internal battery charged. Before connecting the unit
to the mains supply, switch the unit on and see if the power LED lights. If not, you will need to charge the battery before
using away from a mains supply (see "Charging the battery" below)
Connect the DELTA-200 to the mains supply (38) using the supplied IEC power lead or alternatively, by connecting a
battery or power adaptor to the 12-15Vdc power input (39). Observe the LEDs (40) adjacent to the DC power input.
The POWER LED shows green when power is on and red when the battery is low.
Power Up
Turn all VOLUME controls down or off (8, 14 20, 25, 31, 37) and turn the POWER switch (41) on
All BASS, TREBLE and EQ controls (7, 8, 10, 11, 12, 27, 28, 34, 35) should remain pointing vertically (12-o-clock position)
These can be altered later to adjust the tone character of each input.
Your DELTA-200 portable PA unit should now be ready to operate.
Instrument Input Channels
The DELTA-200 has 2 dedicated input channels for electric instruments, such as electric or electro-acoustic guitars,
basses, mandolins or ukuleles, which have magnetic or piezo pickups. Note: these are more sensitive than line inputs.
Connection from the instrument is via 6.3mm jack (9). Once connected, ensure that the volume is turned up on the
instrument and gradually increase the channel VOLUME for the relevant input (14), checking for output to the speaker.
Each instrument channel has 3-band EQ for tone shaping.
The HI control (10) adjusts the level of high frequency content (treble) for the relevant instrument input.
The MID control (11) adjusts the level of mid frequency content (middle) for the relevant instrument input.
The LOW control (12) adjusts the level of low frequency content (bass) for the relevant instrument input.
Turning any of these controls anti-clockwise will cut these frequencies or clockwise will boost these frequencies.
The 12 o'clock position is the neutral, unaffected setting.
Both instrument inputs are also served by an EFFECT level control.
Turning the EFFECT (13) control clockwise introduces more of the echo level. MIN = no echo and MAX = full echo.
For further information, see the "Delay Effect" section further along in this document.
UHF Handheld Microphones
Insert the supplied AA batteries into the handheld microphones by carefully unscrewing the base of each and aligning the
"+" and "-" ends of each cell as imprinted in the battery compartment. Take care to observe the correct polarity.
On the rear panel, turn the UHF A and UHF B controls (25, 31) clockwise to switch power on to the receivers.
The "ON" LED for each UHF receiver should now be lit (26, 30) – the "RF" LEDs are only lit when the handheld mic is on.
Turn up each of these controls part way for checking each UHF microphone.
Switch on each handheld mic by sliding up the switch fully (halfway is "muted") – the "RF" LEDs (26, 30) for UHF A and B
should light in turn. If the LED on the handset does not light or stays on dimly lit, change the batteries and try again.
Gradually increase UHF A and UHF B controls, testing each microphone in turn for output through the speaker.
Take care not to incur "feedback" (howling or screeching sound through the speaker) by keeping the microphone a
sensible distance from the speaker and pointing away from the speaker so that it doesn't
"hear"
the speaker output.
Both UHF A and B microphones are served by a pair of EQ controls and an EFFECT level control.
The HI-MID control (27) adjusts the level of high and mid frequency content (treble + middle) for both microphones.
The LOW control (28) adjusts the level of low frequency content (bass) for both microphones.
The 12 o'clock position is the neutral, unaffected setting. Clockwise boosts the EQ. Anticlockwise cuts the EQ.
The EFFECT level control adjusts the amount of UHF mics signal feed to the delay section, from no effect up to full effect.
When not in use, switch the UHF wireless microphones off. Remove batteries if not being used for long periods of time.
178.812UK User Manual
