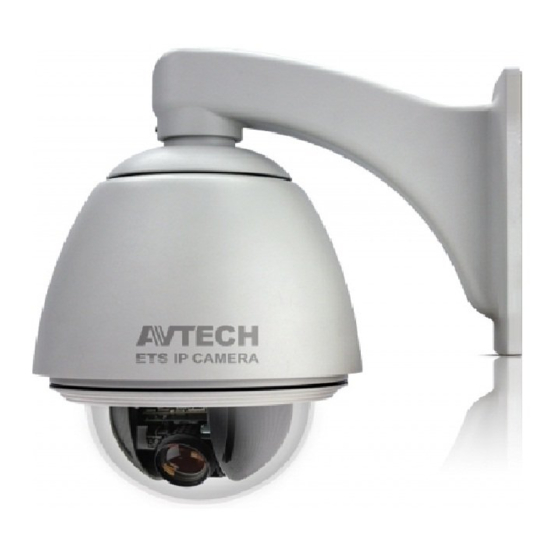
Avtech AVT583 사용자 설명서 - 페이지 5
{카테고리_이름} Avtech AVT583에 대한 사용자 설명서을 온라인으로 검색하거나 PDF를 다운로드하세요. Avtech AVT583 14 페이지. Speed dome camera

CONNECTION
1. DC12V Input Terminal
Connect the power terminal of the camera to a DC 12V regulated power supply.
NOTE: Please use the correct power adaptor, DC12V (regulated), to operate this unit. The power
tolerance of this unit is DC12V ± 10%. Over maximum DC 12V power input will damage this
unit.
2. Video Output Connector (VIDEO OUT)
Connect the camera video output to the video input of a DVR with 75Ω coaxial cable.
NOTE: To ensure the camera has sufficient protection against moisture, an extra waterproof
measure, such as by using an insulating tape, must be used to cover the power and video
connectors after connection.
PTZ CONTROL
NOTE: The panel below is available only when the camera is used with our brand's HD CCTV DVR,
and not all functions in the panel are supported for this camera.
Right-click to return to the live view, and click the channel with this speed dome camera connected. Then,
click
on the bottom left side of the screen to show the PTZ control panel.
/
/
/
+
-
/
/
/
NOTE: PTZ control is also available via the optional USB joystick and EagleEyes. For details, please
check their respective user manuals.
Up / Down / Left / Right
Zoom in / out max
Zoom in / out
Focus near / far
Auto mode
Auto tracking
Preset point
Auto Focus
Click the arrow keys (
camera lens up / down / left /right.
Click to zoom in on the image to the largest / zoom out
on the image to its original size.
Click to zoom in / out the image.
Click to adjust the focus of the image.
Click to activate the auto function.
Before using it, you need to assign a specific function
that will be enabled when "
For details, please see "CAMERA PARAMETERS".
Click to start auto tracking, and click again to stop.
Click to configure or go to the preset point you want to
see. For details, please see "SEQUENCE SETUP".
Click to automatically adjust the focus of the camera.
/
/
/
) to move the
" is clicked.
3
