Dell Inspiron 600m 서비스 매뉴얼 - 페이지 11

{카테고리_이름} Dell Inspiron 600m에 대한 서비스 매뉴얼을 온라인으로 검색하거나 PDF를 다운로드하세요. Dell Inspiron 600m 41 페이지. Hard drive
Dell Inspiron 600m에 대해서도 마찬가지입니다: 여기에서 시작 (2 페이지), 여기에서 시작 (2 페이지), 여기에서 시작 (2 페이지), 시작하기 매뉴얼 (2 페이지), 사용자 설명서 (34 페이지), 설정 매뉴얼 (2 페이지), 시작하기 (2 페이지), 설정 매뉴얼 (2 페이지), 설정 매뉴얼 (2 페이지), 설정 매뉴얼 (2 페이지), 설정 매뉴얼 (2 페이지), 설정 매뉴얼 (2 페이지), 설정 매뉴얼 (2 페이지), 설정 매뉴얼 (2 페이지), 서비스 매뉴얼 (41 페이지), 미디어 베이스 사용 설명서 (26 페이지), 서비스 매뉴얼 (40 페이지), 설치 및 구성 (38 페이지), 빠른 시작 (2 페이지), 빠른 시작 (2 페이지), 빠른 시작 (2 페이지), 컴퓨터 설정 (2 페이지), 서비스 매뉴얼 (41 페이지), 서비스 매뉴얼 (4 페이지)
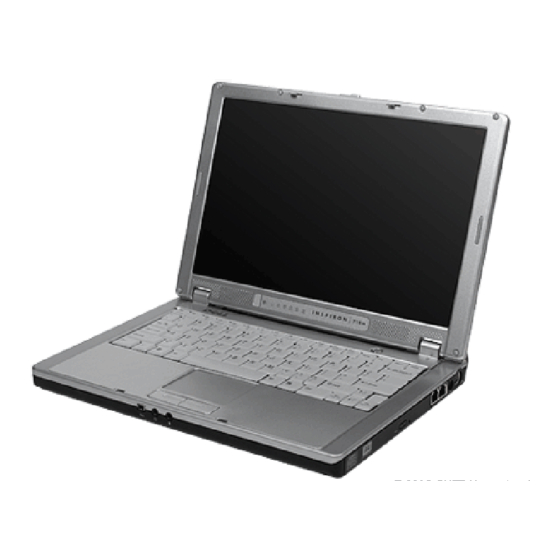
Dell Inspiron 600m 서비스 매뉴얼
Back to Contents Page
Display Assembly and Display Latch
Dell™ Inspiron™ 500m Service Manual
  Display Assembly
  Display Bezel
  Display Panel
  Display Latch

Display Assembly

 
CAUTION:
Before performing the following procedures, read the safety instructions in your Owner's Manual.
 
NOTICE:
To avoid electrostatic discharge, ground yourself by using a wrist grounding strap or by periodically touching an unpainted metal surface (such
as the back panel) on the computer.
 
NOTICE:
You must remove the display assembly before you remove the palm rest.
1.  Follow the instructions in
"Preparing to Work Inside the
2.  Remove the keyboard.
3.  Open the display assembly approximately 180 degrees, and support the display assembly so that it does not open past this position.
4.  Loosen the captive screw that secures the display cable to the system board, and release the cable from the four cable-routing clips.
 
 
1 M2.5 x 6-mm screws (3)
2 display cable connector

3 display

4 computer base

5 pull-tab
6 system board connector
7 captive screw
8 cable-routing clips (4)
5.  Pull up on the pull-tab that is attached to the display cable connector to remove the connector from the system board.
6.  Remove the three M2.5 x 6-mm screws.
7.  Rotate the display assembly to a 90-degree angle, and lift the display assembly up and out of the computer base.
 
Computer."