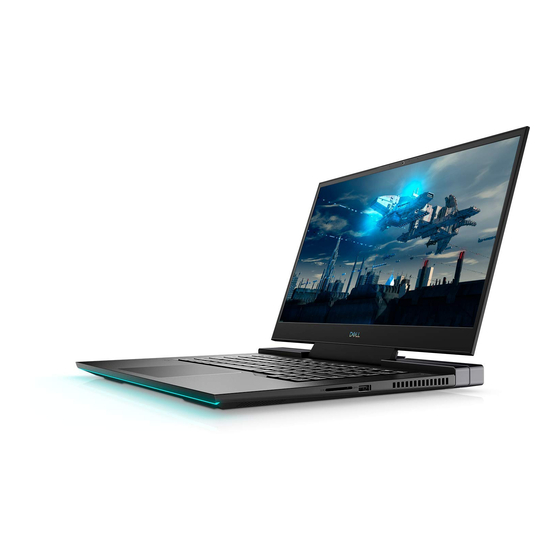
Dell Inspiron 7500 설정 매뉴얼 - 페이지 13
{카테고리_이름} Dell Inspiron 7500에 대한 설정 매뉴얼을 온라인으로 검색하거나 PDF를 다운로드하세요. Dell Inspiron 7500 19 페이지. Dell inspiron 7500: quick start
Dell Inspiron 7500에 대해서도 마찬가지입니다: 사용자 설명서 (36 페이지), 시작하기 (4 페이지), 설정 및 사양 (23 페이지), 시작하기 (4 페이지), 빠른 시작 매뉴얼 (14 페이지)

3-2
Dell Inspiron Systems Setup Guide
To connect the printer to the computer, perform the following steps:
1.
Turn off the computer and make sure that the printer is also turned off.
2.
Attach the printer cable to the parallel connector on the computer and the printer.
Secure the printer cable connector to the computer connector by tightening the
two screws (see Figure 3-1). Secure the printer cable connector to the printer
connector by snapping the two clips into the two notches.
screw (2)
Figure 3-1. Parallel Printer Connections
3.
Turn on the printer and then turn on the computer.
NOTE: If the Add New Hardware Wizard screen appears, click Cancel.
4.
Go to "Installing Software for a Printer," found later in this chapter.
Connecting a USB Printer
NOTE: USB devices can be connected to the computer while it is on.
To connect the USB printer to the computer, perform the following steps:
1.
Attach the printer cable to the USB connector on the computer and the printer.
The USB connectors are keyed to fit only one way.
An example of a typical USB printer setup is shown in Figure 3-2.
parallel connector
on computer
parallel printer
cable
notch (2)
parallel connector
on printer
clip (2)
