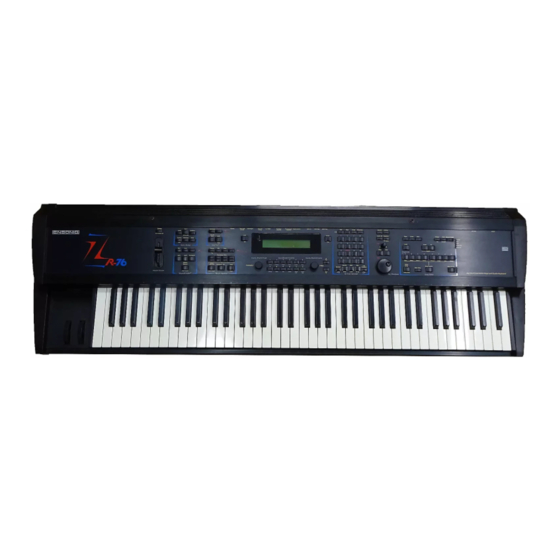
ENSONIQ MR-76 시작하기 매뉴얼 - 페이지 9
{카테고리_이름} ENSONIQ MR-76에 대한 시작하기 매뉴얼을 온라인으로 검색하거나 PDF를 다운로드하세요. ENSONIQ MR-76 17 페이지. Synthesizer ensoniq zr-76; mr-76

- 1. Getting Started
- 2. Audio Connections
- 3. Table of Contents
- 4. Selecting Sounds
- 5. Sequencing and Scoop Editing
- 6. Standard MIDI Files and
- 7. Using the Drum Machine
- 8. External Sequencer's, MIDI and the MR/ZR
- 9. MIDI Control over MR/ZR Insert Effects
- 10. MR/ZR Auxiliary Outputs
- 11. Disk Functions
- 12. MR/ZR Rhythm Builder
- 13. Mr/Zr Q&A
- 14. MR/ZR Partners
Use the Rhythm Variations and Fills in the 16 Track Recorder
Assuming you have sent the rhythm over to the 16 track recorder,
Press the Record Mode button (in the Song Editor Section) to select ADD mode
Select the Rhythm Track
Press and hold Record
Press Play and release both buttons (Normal record mode)
As the song is playing, select the Fill or Variation and press the Fill/Var buttons
when you want them to come into the song
MR/ZR Drum Patterns to external MIDI sequencer
A lot of MR/ZR users are beginning to use external sequencers. Let's face it. The external
stand-alone sequencer has lots of features that can take your music to the next level of
professionalism and perfection. In most cases, the MR/ZR drum patterns are so pristine,
that you still may want to use them while even sequencing on an external sequencer. The
MR/ZR series does not have the ability to have a dual MIDI status per track. Each track is
either going to play internally, or externally. We will have to use the MIDI OUT instrument
to accomplish this task.
Load the sequence and drum pattern you want to transfer to the external sequencer
Press the select sound button
Select the MIDI OUT instrument
Change its MIDI channel to 10
Press the send to track button
Follow the screen prompts to send the instrument to the rhythm track (10)
Press System/MIDI, go to Edit MIDI Settings, press Enter
Go to Xmit MIDI Clocks =, change to ON
Set your external sequencer to follow MIDI clock and to record on channel 10
Play the sequence into your computer while the computer is recording the drums.
(You will not hear any Drum sounds as you are recording this into your external
sequencer)
After it is completed, assign a drum kit to track 10 (rhythm Track) of the MR/ZR
Change the sync of your external sequencer back to Internal
Select the drum kit you want to use from your external sequencer
8
MR/ZR GETTING STARTED GUIDE
