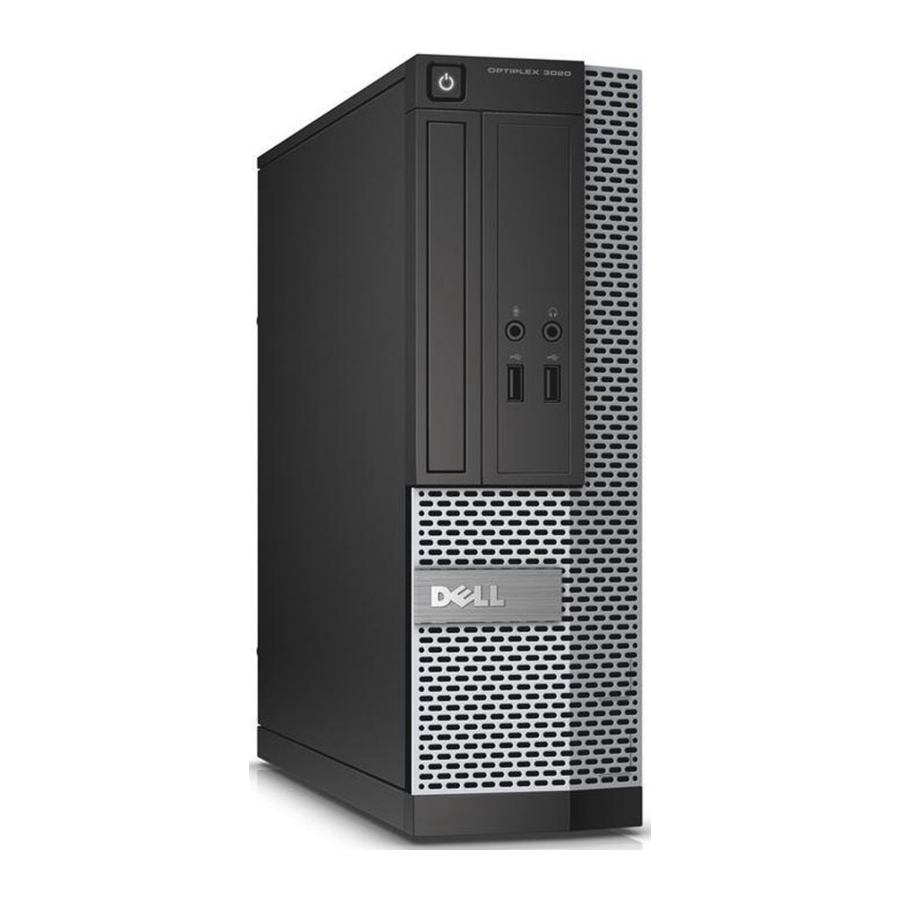
Dell OptiPlex 3020 소유자 매뉴얼 - 페이지 15
{카테고리_이름} Dell OptiPlex 3020에 대한 소유자 매뉴얼을 온라인으로 검색하거나 PDF를 다운로드하세요. Dell OptiPlex 3020 50 페이지. Small form factor
Dell OptiPlex 3020에 대해서도 마찬가지입니다: 사양 (3 페이지), 기술 매뉴얼북 (49 페이지), 빠른 시작 매뉴얼 (2 페이지)

•
Memory modules of different sizes can be mixed (for example, 2 GB and 4 GB). But, all populated channels must have identical
configurations.
•
Memory modules must be installed beginning with the first socket.
NOTE:
The memory sockets in your computer may be labeled differently depending on the hardware configuration.
For example, A1, A2 or 1,2,3.
•
If the quad-rank memory modules are mixed with single or dual-rank modules, the quad-rank modules must be installed in the sockets
with the white release levers.
•
If memory modules with different speeds are installed, they operate at the speed of the slowest installed memory modules.
Removing the Memory
1. Follow the procedures in Before Working Inside Your Computer.
2. Remove the cover.
3. Press down on the memory retaining tabs on each side of the memory modules, and lift the memory modules out of the connectors on
the system board.
Installing the Memory
1. Align the notch on the memory-card with the tab in the system-board connector.
2. Press down on the memory module until the release tabs spring back to secure them in place.
3. Install the cover.
4. Follow the procedures in After Working Inside Your Computer.
Removing the System Fan
1. Follow the procedures in Before Working Inside Your Computer.
2. Remove
a) cover
b) optical drive
c) drive cage
d) front bezel
3. Perform the following steps as shown in the illustration:
a) Press the system-fan cable [1].
b) Disconnect the system-fan cable from the system board [2].
c) Unroute the cable from the system board.
d) Pry and remove the system fan away from the grommets securing it to the front of the computer.
e) Then press the grommets inward along the slots and pass through the chassis.
Disassembly and reassembly
15
