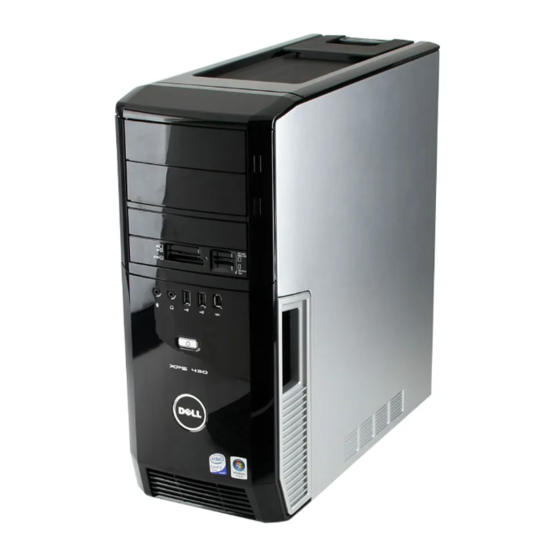
Dell XPS 430 서비스 매뉴얼 - 페이지 39
{카테고리_이름} Dell XPS 430에 대한 서비스 매뉴얼을 온라인으로 검색하거나 PDF를 다운로드하세요. Dell XPS 430 42 페이지. Dell xps computer setup
Dell XPS 430에 대해서도 마찬가지입니다: 설정 (2 페이지)

Back to Contents Page
Replacing the System Board
Dell™ XPS™ 430 Service Manual
CAUTION:
Before working inside your computer, read the safety information that shipped with your computer. For additional safety best
practices information, see the Regulatory Compliance Homepage at www.dell.com/regulatory_compliance.
NOTICE:
Do not perform the following steps unless you are familiar with hardware removal and replacement. Performing these steps incorrectly could
damage your system board. For technical service, see the Quick Reference Guide.
NOTICE:
The system board and metal tray are connected and are removed or installed as one piece.
1. Follow the procedures in
Before You
2. Remove the computer cover (see
3. Remove any full-length expansion cards (see
4. Remove the processor airflow shroud (see
Processor Fan Cage
and
Replacing the Processor
5. Remove the card fan assembly (see
6. Remove any additional components that may restrict access to the system board.
7. Disconnect all cables from the system board.
NOTICE:
If you are replacing the system board, visually compare the replacement system board to the existing system board to ensure that you have
the correct part.
8. Remove the eight screws securing the system board assembly to the chassis, slide the system board assembly towards the front of the computer and
lift it up and out.
NOTE:
Some components and connectors on replacement system boards may be in different locations than corresponding connectors on the existing
system board.
NOTE:
Jumper settings on replacement system boards are preset at the factory.
9. Transfer components from the existing system board to the replacement system board, if applicable.
10. Orient the system board assembly by aligning the notches on the bottom of the assembly with the tabs on the computer.
11. Slide the system board assembly toward the back of the computer until the assembly clicks into place.
12. Replace the eight screws to secure the system board assembly to the chassis.
13. Replace any expansion cards that you removed (see
14. Replace the processor airflow shroud (see
Processor Fan Cage
and
Replacing the Processor
15. Replace the card fan assembly (see
16. Replace any additional components that you removed from the system board.
Begin.
Removing the Computer
Cover).
Replacing PCI and PCI Express
Replacing the Processor Airflow Shroud
Fan).
Replacing the Card
Fan).
Installing PCI and PCI Express
Replacing the Processor Airflow Shroud
Fan).
Replacing the Card
Fan).
Cards).
Assembly) and the processor fan assembly (see
Cards).
Assembly) and the Processor Fan assembly (see
Replacing the
Replacing the
