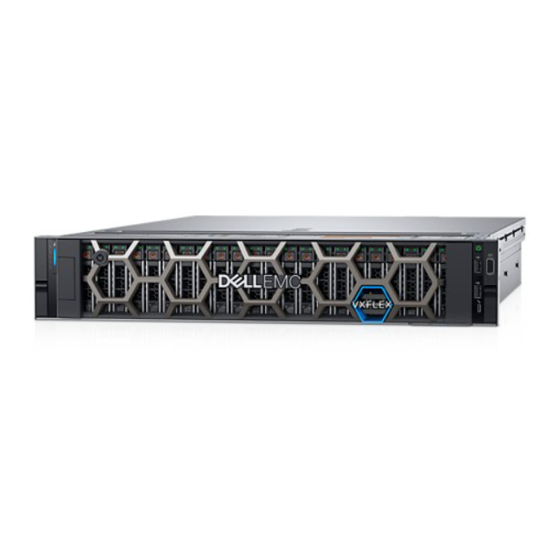
Dell EMC VxFlex Ready Node 14G 빠른 시작 매뉴얼 - 페이지 17
{카테고리_이름} Dell EMC VxFlex Ready Node 14G에 대한 빠른 시작 매뉴얼을 온라인으로 검색하거나 PDF를 다운로드하세요. Dell EMC VxFlex Ready Node 14G 22 페이지.
Dell EMC VxFlex Ready Node 14G에 대해서도 마찬가지입니다: 검사 매뉴얼 (8 페이지)

Enabling storage
Installing and opening the VxFlex OS GUI
Install the VxFlex OS GUI
This section describes how to use the plug-in to create and map volumes. You can
map volumes to SDCs in the same step, or you can map volumes after it has been
created.
Volumes are created from devices in a Storage Pool. The steps described here can be
performed from the VxFlex OS GUI Frontend tab, too.
Procedure
1. From the Storage Pool screen, click Actions
The Create Volume dialog appears.
2. Enter the following information:
Volume name
l
Number of volumes to create
l
Volume size
l
Volume provisioning
l
Use RAM Read Cache
l
3. To map the volumes to ESXs, perform the following:
a. Select Map volume to ESXs.
b. In the Select ESXs area, select the clusters or ESXs to which this volume
should be mapped.
4. Click OK.
5. Enter the password for the VxFlex OS admin user.
Results
The volume creating and mapping results are displayed.
You can open the VxFlex OS GUI after it is installed on your workstation.
Perform the instructions in the following topics to install and open the VxFlex OS GUI.
You can install the VxFlex OS GUI.
Before you begin
Ensure that the workstation satisfies the requirements described in the "System
l
Requirements" section of the documentation.
Get the installation file either from the product ISO or the
l
Procedure
1. Install the VxFlex OS GUI:
Windows:
l
EMC-ScaleIO-gui-2.6-<build>.X.msi
Deploying VxFlex OS in a 2-Layer Environment
Create volume.
>
Support
Site.
Enabling storage
17
