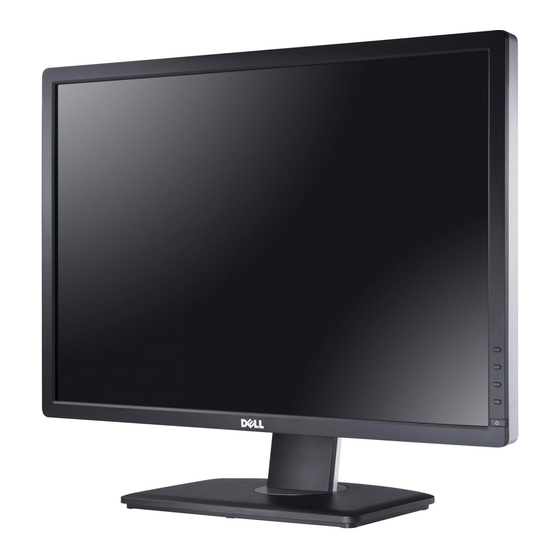
Dell UltraSharp U2412MWh 사용자 설명서 - 페이지 43
{카테고리_이름} Dell UltraSharp U2412MWh에 대한 사용자 설명서을 온라인으로 검색하거나 PDF를 다운로드하세요. Dell UltraSharp U2412MWh 48 페이지.
Dell UltraSharp U2412MWh에 대해서도 마찬가지입니다: 사용자 설명서 (49 페이지)

To run t he built - in diagnost ics:
1 . Ensure t hat t he screen is clean ( no dust part icles on t he surface of t he screen) .
2 . Unplug t he video cable( s) from t he back of t he com put er or m onit or. The m onit or t hen goes int o t he self- t est m ode.
3 . Press and hold Bu t t on 1 and Bu t t on 4 on t he front panel sim ult aneously for 2 seconds. A gray screen appears.
4 . Carefully inspect t he screen for abnorm alit ies.
5 . Press Bu t t on 4 on t he front panel again. The color of t he screen changes t o red.
6 . I nspect t he display for any abnorm alit ies.
7 . Repeat st eps 5 and 6 t o inspect t he display in green, blue, black and whit e screens.
The t est is com plet e when t he whit e screen appears. To exit , press B u t t on 4 again.
I f you do not det ect any screen abnorm alit ies upon using t he built - in diagnost ic t ool, t he m onit or is funct ioning properly. Check t he video card and com put er.
Com m on Pr oble m s
The following t able cont ains general inform at ion about com m on m onit or problem s you m ight encount er and t he possible solut ions:
Com m on Sym pt om s
No Video/ Power LED off
No pict ure
No Video/ Power LED on
No pict ure or no bright ness
Poor Focus
Pict ure is fuzzy, blurry, or ghost ing
Shaky/ Jit t ery Video
Wavy pict ure or fine m ovem ent
Missing Pixels
LCD screen has spot s
St uck - on Pixels
LCD screen has bright spot s
Bright ness Problem s
Pict ure t oo dim or t oo bright
Geom et ric Dist ort ion
Screen not cent ered correct ly
Horizont al/ Vert ical Lines
Screen has one or m ore lines
W h a t You Ex pe r ie n ce
Ensure t hat t he video cable connect ing t he m onit or and t he com put er is properly connect ed and secure.
Verify t hat t he power out let is funct ioning properly using any ot her elect rical equipm ent .
Ensure t hat t he power but t on is depressed fully .
Ensure t hat t he correct input source is select ed via t he
I ncrease bright ness & cont rast cont rols via OSD.
Perform m onit or self- t est feat ure check.
Check for bent or broken pins in t he video cable connect or.
Run t he built - in diagnost ics.
Ensure t hat t he correct input source is select ed via t he
Perform Aut o Adj ust via OSD.
Adj ust t he Phase and Pixel Clock cont rols via OSD.
Elim inat e video ext ension cables.
Reset t he m onit or t o Fact ory Set t ings.
Change t he video resolut ion t o t he correct aspect rat io ( 16: 10) .
Perform Aut o Adj ust via OSD.
Adj ust t he Phase and Pixel Clock cont rols via OSD.
Reset t he m onit or t o Fact ory Set t ings.
Check environm ent al fact ors.
Relocat e t he m onit or and t est in anot her room .
Cycle power on- off.
Pixel t hat is perm anent ly off is a nat ural defect t hat can occur in LCD t echnology .
For m ore inform at ion on Dell Monit or Qualit y and Pixel Policy, see Dell Support sit e at : su ppor t .de ll.com .
Cycle power on- off.
Pixel t hat is perm anent ly off is a nat ural defect t hat can occur in LCD t echnology .
For m ore inform at ion on Dell Monit or Qualit y and Pixel Policy, see Dell Support sit e at : su ppor t .de ll.com .
Reset t he m onit or t o Fact ory Set t ings.
Aut o Adj ust via OSD.
Adj ust bright ness & cont rast cont rols via OSD.
Reset t he m onit or t o Fact ory Set t ings.
Aut o Adj ust via OSD.
Adj ust horizont al & vert ical cont rols via OSD.
N OTE:
When using DVI - D input , t he posit ioning adj ust m ent s are not available.
Reset t he m onit or t o Fact ory Set t ings.
Perform Aut o Adj ust via OSD.
Possible Solu t ion s
I nput Source Select
but t on.
I nput Source Select
but t on.
