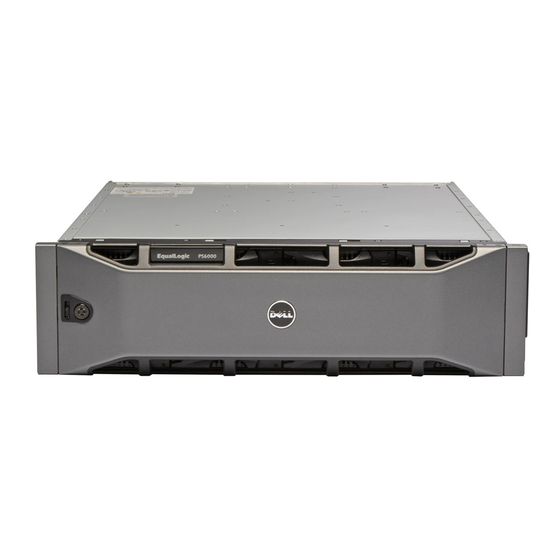
Dell EqualLogic PS5000 하드웨어 유지 관리 - 페이지 17
{카테고리_이름} Dell EqualLogic PS5000에 대한 하드웨어 유지 관리을 온라인으로 검색하거나 PDF를 다운로드하세요. Dell EqualLogic PS5000 46 페이지. Storage arrays
Dell EqualLogic PS5000에 대해서도 마찬가지입니다: 하드웨어 매뉴얼 (50 페이지)

PS5000 Hardware Maintenance
Identifying Failed Disks
Disks in a PS5000 array are numbered from 0 to 15 (from left to right, top row to
bottom row). A disk failure is indicated by:
•
The disk's error LED (bottom) is red, and the power LED (top) is off. See
Interpreting Disk LEDs on page 2-1.
•
A message on the console, in the event log, or in the Group Manager GUI
Alarms panel describes a disk failure.
•
The GUI Member Disks window or the CLI
command shows a disk failure.
Handling Failed Disks
How an array handles a disk failure depends on whether a spare disk is available
and whether the RAIDset containing the failed disk is degraded. For example:
•
If a spare disk is available, it replaces the failed disk. Performance is normal
after reconstruction completes.
•
If a spare disk is not available and the failed disk is in a RAIDset with no
previous disk failure, the RAIDset becomes degraded. Performance may be
impaired.
•
If a spare disk is not available and the failed disk is in a RAIDset that is
already degraded, data may be lost and must be recovered from a backup.
Removing Disks
Before removing a disk or blank carrier from an array, attach an electrostatic
protection device, as described in Using an Electrostatic Wrist Strap on page 1-4.
Notes: Replace a failed disk as soon as possible to ensure the highest availability.
Do not remove a disk from a slot, unless you have another disk or a blank
carrier to replace it. Each slot must contain a disk or blank carrier.
Do not remove a functioning disk from an array, unless the disk is a spare;
otherwise, a RAIDset may become degraded. If you remove a spare,
replace the disk as soon as possible.
Before completely removing a functioning disk from an array slot, wait
30 seconds to allow the disk to stop spinning and the heads to land.
Store replacement disks in the packaging in which they were shipped.
Maintaining Disks
member select show disks
2–3
