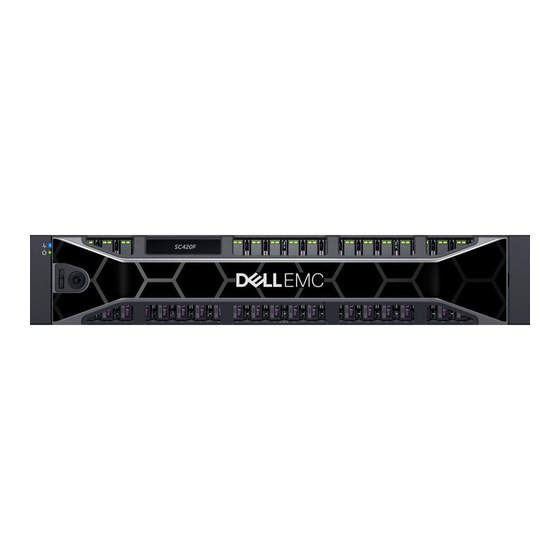
Dell PowerEdge SC420 시작하기 매뉴얼 - 페이지 4
{카테고리_이름} Dell PowerEdge SC420에 대한 시작하기 매뉴얼을 온라인으로 검색하거나 PDF를 다운로드하세요. Dell PowerEdge SC420 7 페이지. Expansion enclosure
Dell PowerEdge SC420에 대해서도 마찬가지입니다: 교체 매뉴얼 (14 페이지), 소유자 매뉴얼 (26 페이지), 정보 업데이트 (21 페이지), 소유자 매뉴얼 (21 페이지)

3.
Front bezel
5.
Expansion enclosure
Installing the Expansion Enclosure in a Rack
Install the expansion enclosure in a rack.
NOTE: Mount the expansion enclosure in a manner that allows for expansion in the rack and prevents the rack from
becoming top‐heavy.
1.
Assemble the rails, following the safety instructions and the rack installation instructions that were provided with your expansion
enclosure.
2.
Determine where to mount the expansion enclosure in the rack and mark the location.
3.
Install the rack rails at the marked location.
4.
Mount the expansion enclosure chassis on the rails.
Figure 2. Mount the Expansion Enclosure Chassis in the Rack
5.
Secure the expansion enclosure chassis to the rack using the mounting bolts.
For more information about installing the expansion enclosure, contact Dell Technical Support Services.
Install the Front Bezel
Install the bezel on the front of the expansion enclosure.
1.
Hook the right end of the bezel onto the expansion enclosure.
Figure 3. Front Bezel
2.
Insert the left end of the bezel into the securing slot until the release latch snaps into place.
3.
Secure the bezel with the keylock.
4
4.
Documentation
6.
Rack rails (2)
