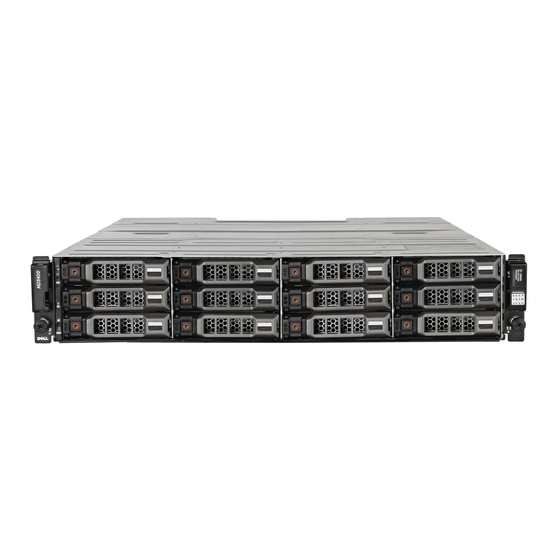
Dell PowerVault MD3420 소유자 매뉴얼 - 페이지 38
{카테고리_이름} Dell PowerVault MD3420에 대한 소유자 매뉴얼을 온라인으로 검색하거나 PDF를 다운로드하세요. Dell PowerVault MD3420 47 페이지. Storage arrays
Dell PowerVault MD3420에 대해서도 마찬가지입니다: 시작하기 매뉴얼 (8 페이지), 배포 매뉴얼 (27 페이지)

CAUTION: In the case of non-redundant configurations, it is recommended that you turn off the
host server before turning off the array to prevent loss of data.
If the Array Status LED is Solid or Blinking Amber
1.
In the AMW, select the Summary tab, and click on Storage Array needs attention.
2.
Follow the listed procedures in the Recovery Guru(s) and wait for up to 5 minutes to check if the LED
has turned blue.
If following the Recovery Guru procedures does not solve the problem, complete the following
procedure to further troubleshoot the array.
3.
Turn off the host server as appropriate.
4.
Remove the RAID controller module and verify that the pins on backplane and RAID controller
module are not bent.
5.
Reinstall the RAID controller module and wait for 30 seconds.
6.
Check the RAID controller module status LED.
7.
Replace the RAID controller module.
8.
Turn on the host server.
If the problem is not resolved, see
If the Link Status LEDs are not Green
1.
Turn off the host server.
2.
Reseat the cables on the expansion array and the server.
3.
Turn on the expansion arrays and the storage array and wait until the system is fully booted.
4.
Turn on the host server.
5.
Check the link status LED. If the link status LED is not green, replace the cables.
If the problem is not resolved, see
Troubleshooting Physical Disks
CAUTION: Many repairs may only be done by a certified service technician. You should only
perform troubleshooting and simple repairs as authorized in your product documentation, or as
directed by the online or telephone service and support team. Damage due to servicing that is
not authorized by Dell is not covered by your warranty. Read and follow the safety instructions
that came with the product.
1.
Check the storage array profile to ensure that the most current version of the firmware is installed.
For more information, see the Support Matrix at dell.com/support/manuals.
2.
Remove the physical disk from the system.
NOTE: You must ensure that you check the physical disk indicators before removing the faulty
physical disk from the system.
3.
Check the physical disks and the midplane to ensure that the connectors are not damaged.
4.
Reinstall the physical disk.
5.
If the problem is not resolved, replace the failed physical disk.
If the problem persists, see
38
Getting
Help.
Getting
Help.
Getting
Help.
