Dell PowerVault TL4000 시작하기 - 페이지 17

{카테고리_이름} Dell PowerVault TL4000에 대한 시작하기을 온라인으로 검색하거나 PDF를 다운로드하세요. Dell PowerVault TL4000 38 페이지. Tape library
Dell PowerVault TL4000에 대해서도 마찬가지입니다: 릴리스 정보 (3 페이지), 자주 묻는 질문 (26 페이지), 빠른 시작 매뉴얼 (7 페이지), 소프트웨어 설명서 (16 페이지), 구성 매뉴얼 (22 페이지), 중요 정보 매뉴얼 (10 페이지), 사용자 설명서 부록 (2 페이지), 시작하기 매뉴얼 (3 페이지), 첨부 파일 지침 (17 페이지), 브로셔 (4 페이지), 사용자 설명서 (20 페이지)
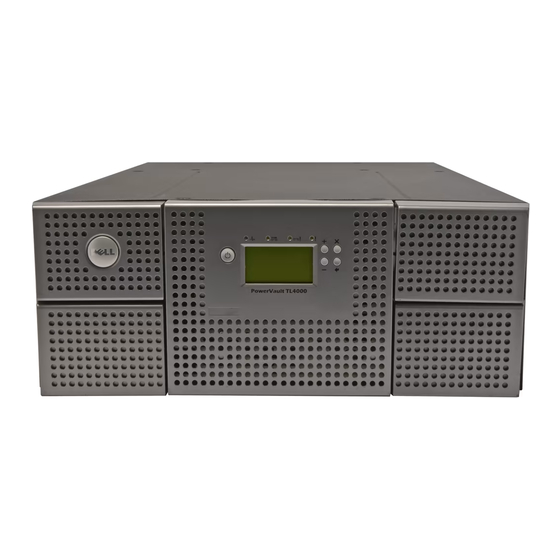
Dell PowerVault TL4000 시작하기
Figure 1-6. Rear view of a rack showing the narrow part of the rail
4. Using the Torx wrench included in your shipment, remove the screws (
Figure 1-7. 2U library side screws to remove
5. Install the library rack anchors ( 2 ) as shown in Figure 1-8 on page 1-8 on
other to form a shelf, secure one rail to each side of the rack in your chosen
rack location. Secure both the front and back of each rail to the rack. The
narrow end of each rail goes to the rear of the rack. The rails extend to fit a
variety of rack depths. Each rail requires 2U of rack space ( 1 in Figure 1-6).
shown in Figure 1-7. Screw locations on the 4U library are similar.
each side of your library using the longer counter-sunk screws included in the
rack kit.
1
1
1
) as
1-7
Installation