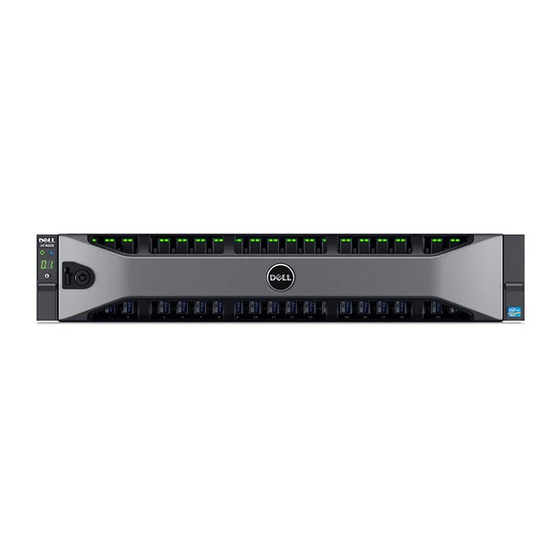
Dell Storage Center SC220 소유자 매뉴얼 - 페이지 22
{카테고리_이름} Dell Storage Center SC220에 대한 소유자 매뉴얼을 온라인으로 검색하거나 PDF를 다운로드하세요. Dell Storage Center SC220 27 페이지. Storage enclosures
Dell Storage Center SC220에 대해서도 마찬가지입니다: 서비스 매뉴얼 (36 페이지), 시작하기 (14 페이지)
Replace a Hard Drive
Use this procedure to replace a failed hard drive.
Prerequisites
Use SupportAssist to send diagnostic data to Dell Technical Support.
About this task
Hard drives can be replaced one at a time without shutting down the storage system.
CAUTION:
To prevent a storage system reset, at least one powered drive must remain installed in the primary chassis
when multiple drives are replaced.
Steps
1. Remove the front bezel.
A solid amber LED is lit on the failed hard drive.
2. Press the release button to open the hard drive carrier release handle.
3. Slide the hard drive out until it is free of the hard drive slot.
Figure 16. Replacing a Hard Drive
1. Hard drive carrier release handle
3. Hard drive carrier
4. Press the release button on the replacement hard drive to open the hard drive carrier release handle.
NOTE:
Hold the hard drive by the plastic part of the hard drive carrier or the handle.
5. Insert the hard drive carrier into the hard drive slot until the carrier make contact with the backplane.
CAUTION:
Do not remove the hard drive blanks that are installed in hard drive slots that are not occupied. The hard
drive blanks ensure proper cooling of the storage system.
6. Close the hard drive carrier handle to lock the hard drive in place.
NOTE:
Allow several seconds for the storage system to recognize the hard drive and determine its status.
7. Replace the front bezel.
8. In the Dell Storage Manager Client, make sure that the replacement hard drive is recognized and shown as up and healthy.
Next steps
Use SupportAssist to send diagnostic data to Dell Technical Support.
22
Replacing SC4020 Storage System Components
2. Hard drive indicators
4. Hard drive slot