Ensy AHU-400 BH 시작 절차 - 페이지 2
{카테고리_이름} Ensy AHU-400 BH에 대한 시작 절차을 온라인으로 검색하거나 PDF를 다운로드하세요. Ensy AHU-400 BH 8 페이지.
393803‐2 Startup procedure for EnSy AHU units
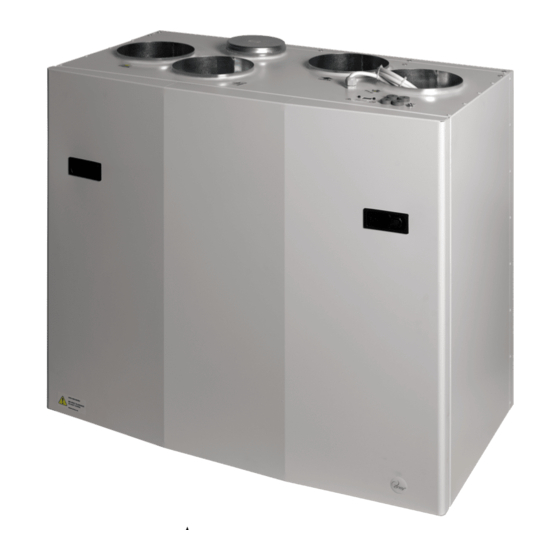
Information can be found on the data plaque inside the unit. This sign shows. AHU‐400 BH
Unit type: AHU‐_____________
Serial no: 010_________ _____. ____ / _____
Date of
start up
first
time: ___________
Where the unit is installed:
Name: ____________________________________________________
Address: __________________________________________________
Here are some points to be checked after Ensy® AHU unit is
installed.
1. Insert the plug into a grounded socket.
Then you will have a picture like this in display.
(Time and temperatures will show other values then shown here)
2. Control to see if there are contact between Display and Master
software in unit.
Press control button 3 once to get into the information menu.
Press control button 3 once to get into the Program version menu.
Press (Enter) control button 4.
You than will see that there are contact with Display and Mastercard software in menu picture (3.2).
Press control button 1 (Return) twice to get back to start up menu.
Note! If you have installed an extra display then you have to program one of the displays with
name Display 2. (Both displays must have same software version.)
Press control button 4 once to get into 4. Preferences.
Press control button 3 four times to get to Setup.
Press (Enter) control button 4 to get into 4.5 PIN code.
We reserve the right to change technical data without notice http://www.ensy.no
REV:0_08.09.2016. KJK
Controll button 1.
2.
3.
Overview push buttons.
Latest display
software are 021 and
Master are 034.
Fill in three last numbers:
Display 1 Ver: _________
Display 2 Ver: _________
Master Ver: ___________
4.
Page 2