Dell Networking S5000 시작하기 매뉴얼 - 페이지 26
{카테고리_이름} Dell Networking S5000에 대한 시작하기 매뉴얼을 온라인으로 검색하거나 PDF를 다운로드하세요. Dell Networking S5000 37 페이지. Data center switch
Dell Networking S5000에 대해서도 마찬가지입니다: 설치 매뉴얼 (50 페이지), 구성 매뉴얼 (12 페이지), 구성 매뉴얼 (17 페이지)
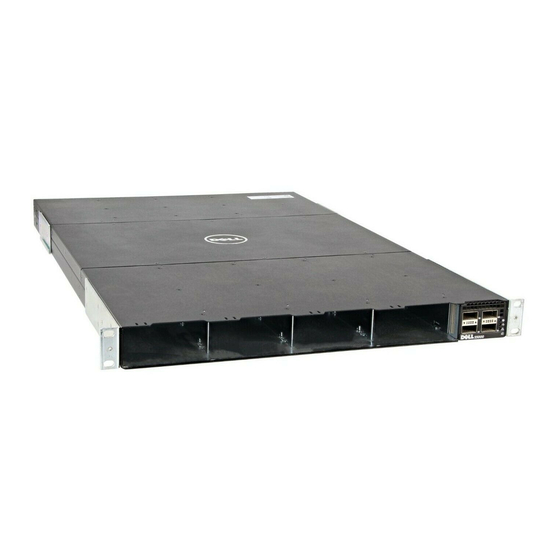
Figure 22. Installing a Fan Module
1. Fan module 0/Slot 1
2. Release latch
Installing the SFP+ and QSFP+ Optics
The S5000 has 48 small form-factor pluggable plus (SFP+) optical ports and four QSFP+ optical ports.
For a list of supported optics, refer to the S5000 data sheet: http://www.dell.com/us/enterprise/p/force10-s-series/pd.
CAUTION: ESD damage can occur if the components are mishandled. Always wear an ESD-preventive wrist or
heel ground strap when handling the S5000 and its components.
WARNING: When working with optical fibres, follow all the warning labels and always wear eye protection. Never
look directly into the end of a terminated or unterminated fibre or connector as it may cause eye damage.
1.
Position the optic so it is in the correct position. The optic has a key that prevents it from being inserted incorrectly.
2.
Insert the optic into the port until it gently snaps into place.
NOTE: Both rows of QSFP+ ports require that you install the 40GbE optics with the tabs facing up.
NOTE: When you cable the ports, be sure not to interfere with the airflow from the small vent holes above and
below the ports.
Splitting QSFP+ Ports to SFP+ Ports
The S5000 supports splitting a single 40GbE QSFP+ port into four 10GbE SFP+ ports using one of the supported breakout
cables.
For a list of supported optics, refer to the S5000 data sheet: http://www.dell.com/us/enterprise/p/force10-s-series/pd.
•
Configure the system to recognize the port mode change.
CONFIGURATION mode
26