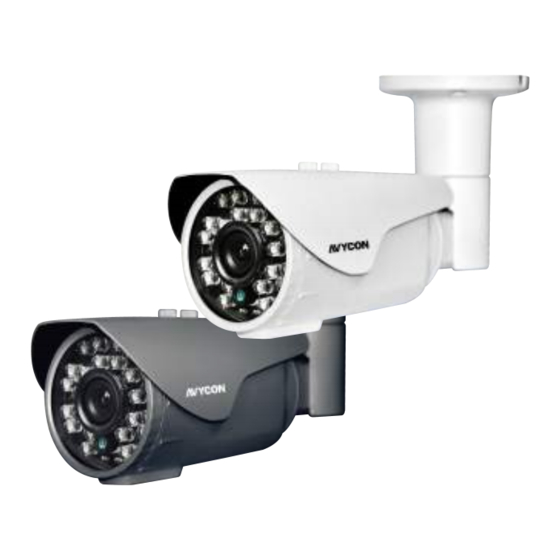
AVYCON AAVC-BH71F 매뉴얼 - 페이지 2
{카테고리_이름} AVYCON AAVC-BH71F에 대한 매뉴얼을 온라인으로 검색하거나 PDF를 다운로드하세요. AVYCON AAVC-BH71F 2 페이지. Color weatherproof 1000tvl ir bullet camera

Introduction
ABOUT THIS MANUAL
Thank you for purchasing our camera.
Before installing and using this camera, please read this
manual fully and carefully, and be sure to keep it handy for
later use.
KEY FEATURES
1/3" SONY 1.4 Megapixel CMOS Sensor
1000 TV Lines (720P)
3.6mm Fixed Lens
True Day/Night Functionality (ICR)
True Night-vision with built-in IR LED's
24 IR LED's (up to 60 ft IR distance)
3D-DNR, WDR, Digital Zoom, Smart IR
12VDC Single Voltage
Precautions
Do not install the camera in extreme temperature conditions.
Operate the camera under conditions where temperatures are within 23°F ~ 113°F
(-5°C ~ 45°C). Especially be careful for ventilation under high temperature.
Do not install the camera under unstable lighting conditions
Severe lighting change or flicker can cause the camera to work improperly.
Never use the camera close to a gas or oil leak.
It can cause malfunctions to occur.
Do not disassemble the camera.
There are no user repairable parts inside.
Do not drop the camera or subject them to physical shocks.
It can cause malfunctions to occur.
Never keep the camera face to strong light directly.
It can damage the CCD and cause malfunctions to occur.
Note
If the camera is exposed to spotlight or object reflecting the strong light, smear or
blooming may occur. Please check the power whether it satisfies the normal
specification before connecting the camera.
Basic Connection
DVR / Monitor
Installation
1. Locate and choose the desired position where the camera will
be mounted.
2. Disassemble the mounting-plate (the plate with three holes)
from the base.
3. Mark three holes according to the mounting plate placement.
.
4. Drill three holes, then insert anchors into the drilled holes.
5. Attach the camera base to the ceiling or wall using the
supplied three screws.
6. Draw out power / video wires to the connecting places.
7. Assemble the camera back to the mounting-plate and lock it
by using the locking screw located between the mounting
plate and the camera.
8. Loosen the locking screws per desired angle and adjust them.
9. Combine each bracket part, lock and tighten each section by
using the supplied L-wrench.
Video
Power
Camera
12VDC Power Supply
Polarity:
Video:
Power:
Dimensions (mm)
SIDE
FRONT
Disclaimer
● While every effort has been made to ensure that the information
contained in this guide is accurate and complete, no liability can be
accepted for any errors or omissions.
● Manufacturer reserves the right to change the specifications of the
hardware and software described herein at any time without prior notice.
● No part of this guide may be reproduced, transmitted, transcribed,
stored in a retrieval system, or translated into any language in any form, by
any means, without prior written permission of Manufacturer.
● Manufacturer makes no warranties for damages resulting from
corrupted or lost data due to a mistaken operation or malfunction of the
cameras, peripheral devices, or unapproved/unsupported devices.
Troubleshooting
If you have trouble operating your camera, refer to the following
If the guidelines do not enable you to solve the problem, contact an authorized technician.
The image does not
* Check the power source for the monitor and camera and
appear on the screen.
ensure that the voltage and polarity are properly connected
and being supplied correctly.
The image on the screen is
* Check if the front glass is dirty, clean the glass with a
dim.
soft, clean cloth.
* Check the power source for the camera and ensure that
enough voltage is supplied.
The camera does not work
* Check if you have connected the camera to a proper
properly, the surface of the
power source and if there is no problem with the power,
camera case is hot, and
turn the unit off immediately and seek assistance from
black line appears on the
authorized technician.
screen.
The screen blinks a lot.
* Check if the camera is pointed toward the sun or a
fluorescent lamp.
* Adjust the angle or location of the camera if too much
light is coming into the screen.
