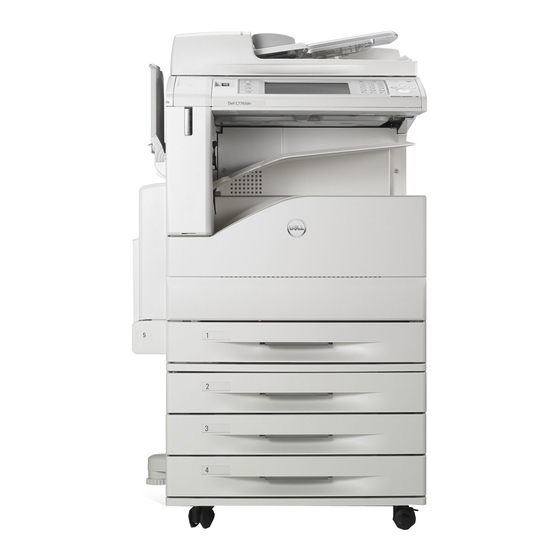
Dell C7765DN 보충 설명서 - 페이지 12
{카테고리_이름} Dell C7765DN에 대한 보충 설명서을 온라인으로 검색하거나 PDF를 다운로드하세요. Dell C7765DN 27 페이지. Color multifunction printer, blue angel information of ral-uz171
Dell C7765DN에 대해서도 마찬가지입니다: 매뉴얼 (1 페이지), 템플릿 매뉴얼 (14 페이지)

Set Data Encryption
Follow the procedure below to encrypt data recorded on the machine's hard disk.
1
Select [System Settings] on the [Tools] screen.
2
Select [Common Service Settings].
3
Select [Other Settings].
4
On the [Other Settings] screen, select [Data Encryption].
5
Select [Change Settings].
6
Select [On].
7
Select [New Encryption Key].
8
Enter a new 12 character encryption key, and then select [Save].
9
Select [Re-enter Encryption Key].
10
Enter the same passcode, and then select [Save].
11
Select [Save].
12
Select [Yes] to make the change.
13
Select [Yes] to reboot.
Set Authentication
Follow the procedure below to configure the authentication settings.
1
Select [Authentication/Security Settings] on the [Tools] screen.
2
Select [Authentication].
3
Select [Login Type].
4
Select [Login to Local Accounts] or [Login to Remote Accounts].
5
Select [Save].
When [Login to Remote Accounts] is selected in step 4, proceed to steps 6 to 12.
6
Select [System Settings] on the [Tools] screen.
7
Select [Connectivity & Network Setup].
8
Select [Remote Authentication/Directory Service].
9
Select [Authentication System Setup].
10
Select [Authentication System].
11
Select [Change Settings].
12
Select [LDAP], [Kerberos(Windows 2000)], or [Kerberos(Solaris)].
13
Select [Save].
14
To exit the [Remote Authentication/Directory Service] screen, select [Close] twice.
12
