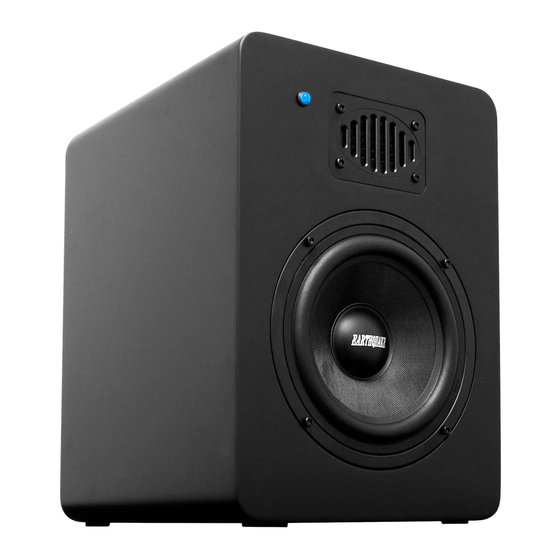
EarthQuake Mpower6 사용자 설명서 - 페이지 6
{카테고리_이름} EarthQuake Mpower6에 대한 사용자 설명서을 온라인으로 검색하거나 PDF를 다운로드하세요. EarthQuake Mpower6 8 페이지. Studio powered monitor

Troubleshooting
The Front LED Does Not Light Up
Inspect the power cable. Never use one that has been altered in any
way.
Verify the power AC outlet is active and supplying the appropriate AC
voltage.
Verify the monitor's AC selector is at the proper setting with the correct
fuse installed (refer to page 7 for fuse rating and how to access the
fuse compartment). Make sure that the fuse is not blown.
Verify that the power cord is securely plugged into the unit and into the
power AC outlet.
Make sure the monitor's POWER switch is ON.
If the fuse(s) blow once the monitor is switched on, please contact
Earthquake Sound's Support/Technical Team for service (1-800-576-7944
or [email protected]).
The Front LED Lights Up but There is No Sound
Perform the troubleshooting steps above prior to proceeding with the
next steps.
Verify that all devices plugged into the same AC outlet are still working.
Make sure that the signal source (e.g. mixing console, CD player work
station, etc.) is at a level that can properly send a signal to the
monitor(s).
Make sure that the VOLUME knob (system gain potentiometer) is
turned fully clockwise to +6dB.
Make sure that the audio source cable is firmly plugged into both the
source output and the monitor input.
If you are using two monitors and this problem only occurs on one of
the units, exchange the audio input cable from the non-working unit to
the working one to determine where the problem lies (the monitor, the
cable or elsewhere).
If the problem still persists at this point, please contact Earthquake Sound
for service.
The Monitor Suddenly Stops Working
Turn the monitor off.
Perform the troubleshooting steps above prior to proceeding with the
next steps.
Carefully, check to see if the amplifier's back plate is hot. It is possible
that the protection circuitry of the amplifier kicked in and shut the
amplifier down because it had been running at highest power output
for an extended period of time. Turn the monitor power off and keep it
off for at least 30 minutes to allow the amplifier to cool down before
turning it back on.
Increase the volume to check for normal operation.
10
Earthquake Sound Corp. | (510) 732-1000 | www.earthquakesound.com
If the monitor is still unresponsive, please contact Earthquake Sound for
service.
The Sound Quality Changes
Perform the previous troubleshooting steps before proceeding with
the next steps.
Disconnect the signal cable at the monitor's input. With the monitor
powered on, place your ear close to each driver (tweeter/woofer) and
listen for any noise (i.e. a slight hiss or hum). If no noise of any kind
was heard, it is possible that one or more of the drivers (woofer,
tweeter or both) is faulty. It is also possible that the problem lies
elsewhere in the electronics.
Reconnect the signal cable to the monitor's input and play some non-
distorted source material at a low volume. Carefully cover the tweeter
to block the sound. If the woofer sounds distorted or has no sound at
all, then the woofer may have gotten internally disconnected or may
need to be replaced.
Play the same non-distorted source material but cover the woofer
instead so the tweeter is mostly heard. If the sound from the tweeter is
not of clear tonal quality or if there is no sound at all, then the tweeter
may have gotten internally disconnected or may need to be replaced.
Please contact our Support/Technical Team once you isolate the issue to
get the best solution to fix your monitor(s).
The Monitor Produces Hisses, Hums or Other Loud Noises
Make sure the power cord is firmly plugged into the monitor.
Check the connection between the signal source and the monitor.
Note that the MPower's XLR and TRS connectors are completely
balanced. If you are connecting an unbalanced signal to the monitor,
make sure to use Pin 2 for signal and tie Pin 1 and 3 together at the
source end.
Make sure that the AC mains is matched to the operating voltage
requirements.
Make sure that all audio equipment in your system uses the same
ground point. Avoid connecting dimmers, neon signs, TV screens and
computer monitors to the same AC output of your audio equipment.
Specifications are subject to change without notice
11
