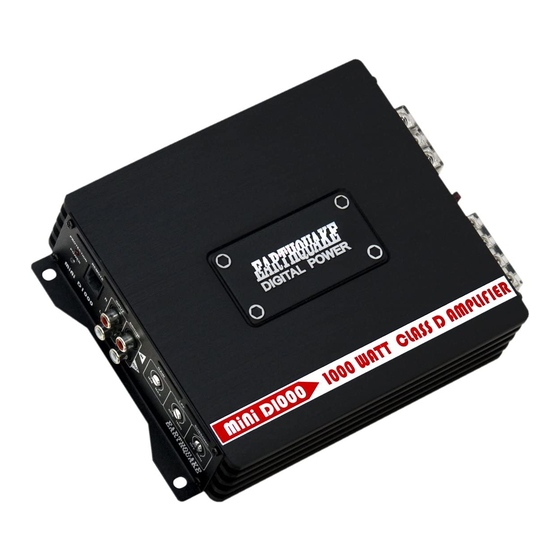
EarthQuake MiNi D2500 설치 매뉴얼 - 페이지 4
{카테고리_이름} EarthQuake MiNi D2500에 대한 설치 매뉴얼을 온라인으로 검색하거나 PDF를 다운로드하세요. EarthQuake MiNi D2500 16 페이지. Mini d amp
EarthQuake MiNi D2500에 대해서도 마찬가지입니다: 설치 매뉴얼 (7 페이지), 설치 매뉴얼 (13 페이지)

MiNi D AMPLIFIER
2
1
MiNi D
1
POWER LED: When lit up, the amplifier is functioning properly.
2
PROTECTION LED: When lit up upon powering on, the amplifier may be in
self-test mode. If this LED stays on, shut down the amplifier and locate what
may have triggered the amplifier to protection mode. If problem persists, call
us for further assistance.
3
REMOTE SUB LEVEL: Used to adjust the amplifier's bass output from a
location of your choice.
4
RCA INPUT: Low level inputs with range of 0.1V to 5V RMS. Be sure to use a
HIGH LOW LEVEL adaptor if the head unit has only speaker output.
5
BRIDGE IN/OUT: Used when linking 2 amplifiers together. The BRIDGE IN
receives signal from the master amplifier and should only be used when the
amplifier is the slave amplifier (all functions of the slave amplifier will be
adjusted by the master amplifier). The BRIDGE OUT sends signal to the
slave amplifier and should only be used when the amplifier is the master
amplifier. Note that both bridged amplifiers must be of the same model
with minimum impedance is 2-Ohm.
6
GAIN CONTROL: Set based on the head unit's output voltage. Note, this is not
a volume control. Always start at the MIN and slowly increase the gain.
Stop as soon as distortion is heard then lower the gain until the distortion
disappear and only clear sound is produced.
7
LPF (LOW PASS FILTER): Used to filter out unwanted mid and high
frequencies.
8
SUBSONIC FILTER: Used to protect the speakers from harmful low
frequencies and DC Voltage. The best setting for most system is at 30Hz (2
o'clock position).
9
FREQUENCY ADJUST: Used to adjust the boosted center frequency. The
best setting for most system is at ½ turn (2 o'clock position).
10
BASS BOOST: Used to add 0 - 12dB to the chosen center frequency. Again,
the best setting for most system is at ½ turn (2 o'clock position).
4
Specifications are subject to change without notice
FUNCTIONS AND FEATURES
3
4
5
6
7
8
9
10
