Christie Christie One Mount 설치 지침 - 페이지 3
{카테고리_이름} Christie Christie One Mount에 대한 설치 지침을 온라인으로 검색하거나 PDF를 다운로드하세요. Christie Christie One Mount 9 페이지.
Christie Christie One Mount에 대해서도 마찬가지입니다: 지침서 (7 페이지), 설치 (9 페이지)
5. Secure the adjustable arm plate to the projector by positioning the screws of the plate with the
designated holes on the bottom of the projector.
•
GS Series projectors must use M6-1.0 x 40 mm long screws with two washers and rubber
bushings. Torque the screws to 16 Nm.
•
H/HS Series projectors must use M8-1.25 x 50 mm long screws with two washers and
torque to 38 Nm.
6. Ensure that the washer and rubber bushings are installed on the M6 bolts when using these
with the Christie One Mount Plus (140-117100-XX).
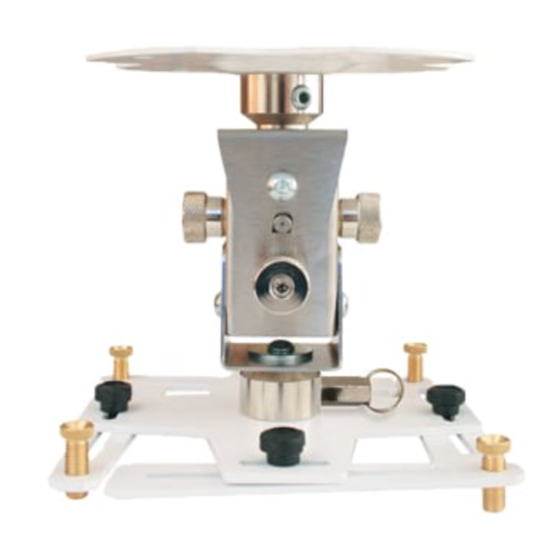
7. Use the four brass leveling screws to attach and level the adapter plate on the projector.
Projector standoffs are adjustable spacers which can be used to level the arms of the Christie
One Mount. The projector standoffs also ensure screws are centered when the projector is
attached to the mount.
8. Ensure the quick-release ring is seated in the slotted groove.
Installing a Christie One Mount Instruction Sheet
020-101410-05 Rev. 1 (09-2016)
Copyright © 2016 Christie Digital Systems USA Inc. All rights reserved.
Installing a Christie One Mount/Christie One Mount Plus
3