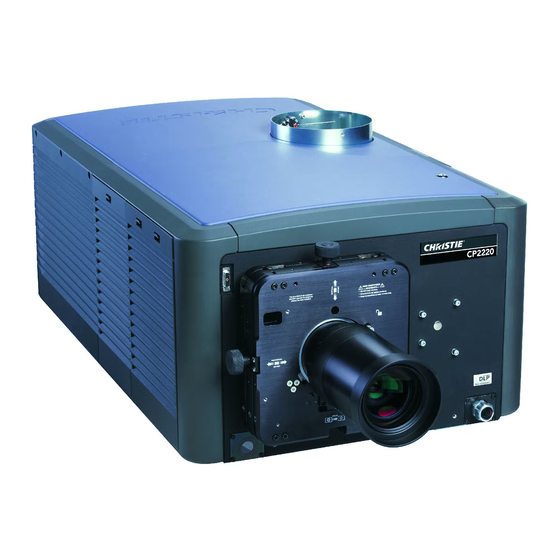
Christie CP4230 기술 게시판 - 페이지 3
{카테고리_이름} Christie CP4230에 대한 기술 게시판을 온라인으로 검색하거나 PDF를 다운로드하세요. Christie CP4230 8 페이지. Christie rack mount pedestal
Christie CP4230에 대해서도 마찬가지입니다: 지침서 (10 페이지), 지침서 (6 페이지), 기술 게시판 (6 페이지), 설정 매뉴얼 (3 페이지), 설치 및 설정 매뉴얼 (19 페이지)

Preparing the projector for service
Before performing any service procedure, ensure that the projector is turned off and disconnected
from power.
•
Turn the lamp and projector off.
•
Allow the projector to cool for a minimum of 15 minutes.
•
Disconnect the projector from AC power.
Cleaning the light engine prism
If the entire light engine requires cleaning, contact Christie technical support.
If you do not have additive-free compressed air, use an air bulb or a camel hair brush to remove dust
and debris. If you have questions about the cleaning methodology, contact Christie.
1. Prepare the projector for service.
2. Remove the prism and set it on a clean, lint free cloth. For removal procedures, see the
projector service manual.
The prism is easily damaged. Handle with care.
3. To prepare the Techspray 1671-10S canister for use, firmly attach the red output tube to the
output nozzle on the canister, point the canister away from the optical component, and press
the trigger rapidly 3 times to clear any possible impurities from the tube.
4. To clean the light engine prism, press the trigger of the Techspray canister rapidly 3 times, 6
inches above the optical component.
You must hold the Techspray canister vertically. Holding the canister at an angle can release
liquid refrigerant and contaminate the projector optics.
5. If the prism still appears dirty:
a) Put on a pair of powder-free latex gloves.
b) Dampen a clean, folded lint free cloth with acetone and wipe the surface of the prism
carefully with the smooth portion of the cloth that has no folds or creases. Do not apply
pressure with your fingers. Use only the tension in the folded cloth.
c) Inspect the prism surface with a bright light and verify it is streak free. If streaks are
present, repeat step b.
6. Reassemble the light engine and the projector.
7. Connect the projector to AC power.
Cleaning the UV filter
Learn the steps for cleaning or replacing the projector UV filter.
If you do not have additive-free compressed air, use an air bulb or a camel hair brush to remove the
debris. If you have questions about the cleaning methodology, contact Christie.
1. Prepare the projector for service.
2. Remove the lamp. For removal procedures, see the projector service manual.
3. Put on a pair of powder-free latex gloves.
Cleaning Projector Optics Technical Bulletin
020-200298-04 Rev. 1 (08-2017)
Copyright
2017 Christie Digital Systems USA Inc. All rights reserved.
©
3
