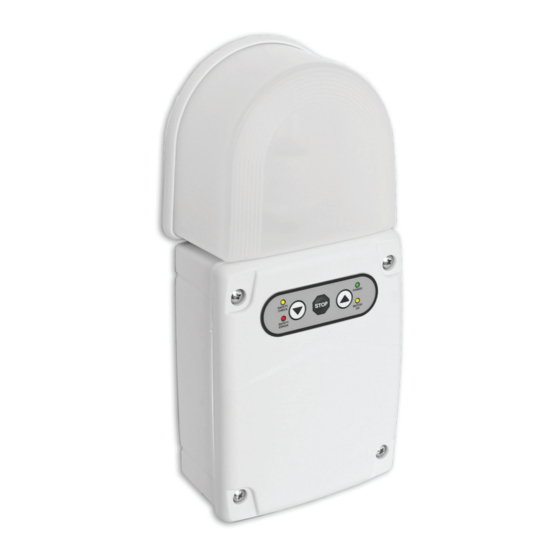
Allmatic BAXS900 매뉴얼 - 페이지 2
{카테고리_이름} Allmatic BAXS900에 대한 매뉴얼을 온라인으로 검색하거나 PDF를 다운로드하세요. Allmatic BAXS900 13 페이지. For rolling shutters

WARNING! In case of malfunction of the coast / sensitive edge, the automation can be closed only with a
DOWN COMMAND / DESCENT from the front panel in DEAD MAN mode.
4. INSTALLATION GUIDE AND ELECTRICAL CONNECTIONS
1. Disconnect the power supply to the control unit by disconnecting the power cable (Fig. 1
2. Fix BAXS900 to the wall, vertically, taking into account the assembly dimensions (Fig. 9). Use the screws provided. Be careful
not to damage electrical parts.
3. Connect the engine as shown in the connection diagram respecting the colors (Fig. 3):
BLUE (neutral), BLACK (closing phase), BROWN (opening phase), YELLOW / GREEN (ground).
If the engine works in reverse, swap the BROWN and BLACK cables.
4. Connect the control buttons OPEN (OPEN) and CLOSE (CLOSE), or the key selector, type Normally Open (N.O), monostable, as
shown in the link diagram (Fig. 2).
5. Connect the STOP button (STOP), bistable contact button Normally Closed (N.C.), (Fig. 2). In case you do not install a stop button,
make a connection between terminal 5 and 6.
6. Properly close the strain relief (Fig. 1
7. Carefully close the lid, making sure the gasket is positioned correctly (Fig. 1
CONNECTIONS
24VDC Terminal Block
1 2 3 4
OPEN CLOSE
+
24VDC
AUX
output
2 / 12
).
Strain Relief
-
5 6 7 8
STOP
COM
PHOTO
Fig. 2
230VAC Pluggable Terminal Block
TEST
).
).
Gasket
Fig. 1
230VAC
LIGHT
230VAC
POWER SUPPLY
LIGHT AUX
230Vac
Fig. 3
MOTOR
230VAC
MOTOR
6-1622623 rev. 3
