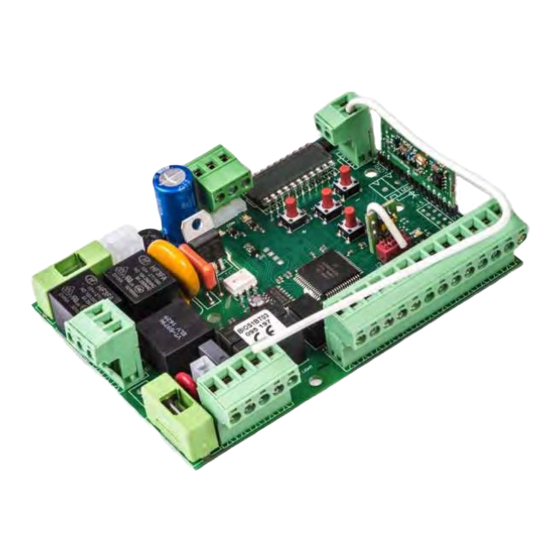
Allmatic BIOS1 설치
{카테고리_이름} Allmatic BIOS1에 대한 설치을 온라인으로 검색하거나 PDF를 다운로드하세요. Allmatic BIOS1 2 페이지. Battery charging kit
Allmatic BIOS1에 대해서도 마찬가지입니다: 설치 매뉴얼 (12 페이지)

ITA
ITA
KIT CARICA BATTERIE PER BIOS1 24 POWER
KIT CARICA BATTERIE PER BIOS1 24 POWER
ENG
ENG
BATTERY CHARGING KIT FOR BIOS1 24 POWER
BATTERY CHARGING KIT FOR BIOS1 24 POWER
FRA
FRA
KIT DE CHARGE BATTERIE POUR BIOS1 24 POWER
KIT DE CHARGE BATTERIE POUR BIOS1 24 POWER
ESP
ESP
KIT DE CARGA DE BATERÍAS PARA BIOS1 24 POWER
KIT DE CARGA DE BATERÍAS PARA BIOS1 24 POWER
AVVERTENZE DI SICUREZZA GENERALI / GENERAL SAFETY WARNINGS / LES AVVERTISSEMENTS GÉNÉRALES DE SECURITÉ / ADVERTENCIAS DE SEGURIDAD
• Prima di installare il prodotto è obbligatorio leggere il documento relativo alle AVVERTENZE DI SICUREZZA GENERALI a corredo del prodotto. • Non utilizzare questo dispositivo con prodotti differenti da
quelli indicati in questo manuale. • Tutte le operazioni indicate in questo manuale devono essere effettuate esclusivamente da personale esperto, qualificato e formato. • Effettuare i collegamenti elettrici
rispettando le polarità indicate. • Il mancato rispetto di queste istruzioni provocherà morte o gravi infortuni. • Il costruttore di questo prodotto non si assume nessuna responsabilità
per qualunque conseguenza derivante dall'uso di questo materiale.
• Before installing the product, it is mandatory to read the document relating to the GENERAL SAFETY WARNINGS accompanying the product. • Do not use this device with products other than those
indicated in this manual. • All operations indicated in this manual must be carried out exclusively by experienced, qualified and trained personnel. • Make electrical connections respecting the indicated
polarities. • Failure to comply with these instructions will result in death or serious injury. • The manufacturer of this product assumes no responsibility for any consequences arising
from the use of this material.
• Avant d'installer le produit, il est obligatoire de lire le document relatif aux AVERTISSEMENTS DE SÉCURITÉ GÉNÉRAUX accompagnant le produit. • N'utilisez pas cet appareil avec des produits
différents de ceux indiqués dans ce manuel. • Toutes les opérations indiquées dans ce manuel doivent être effectuées exclusivement par du personnel expérimenté, qualifié et formé. • Effectuer les
branchements électriques en respectant les polarités indiquées. • Le non-respect de ces instructions entraînera la mort ou des blessures graves. • Le fabricant de ce produit n'assume
aucune responsabilité pour les conséquences résultant de l'utilisation de ce matériau.
• Antes de instalar el producto es obligatorio leer el documento relativo a las ADVERTENCIAS DE SEGURIDAD GENERALES que acompaña al producto. • No utilice este dispositivo con productos
distintos de los indicados en este manual. • Todas las operaciones indicadas en este manual deben ser realizadas exclusivamente por personal experto, cualificado y formado. • Efectuar las conexiones
eléctricas respetando las polaridades indicadas. • El incumplimiento de estas instrucciones provocará la muerte o lesiones graves. • El fabricante de este producto no asume ninguna
BATTERY
responsabilidad por las consecuencias derivadas del uso de este material.
+
-
INSTALLAZIONE / INSTALLATION / INSTALLATION / INSTALACIÓN
STEP 1
-
BATTERY
+
-
FUSE T 10A
STEP 3
+
+
-
-
V2
V1
FUSE T 10A
STEP 5
+
+
-
-
V2
V1
6-1624888 - rev. 1 - 24/02/2023 / Italiano - Lingua originale / English - Translated from the original language / Français - Traduit de la langue originale / Español - Traducido del idioma original
PERICOLO / DANGER / DANGER / PELIGRO
RISCHIO DI SURRISCALDAMENTO, ESPLOSIONE E/O INCENDIO
RISK OF OVERHEATING, EXPLOSION AND/OR FIRE
RISQUE DE SURCHAUFFE, D'EXPLOSION ET/OU D'INCENDIE
RIESGO DE SOBRECALENTAMIENTO, EXPLOSIÓN Y/O INCENDIO
STEP 2
+
BATTERY
+
FUSE T 10A
+
+
STEP 4
V1
CB
STEP 6
V2
CB
32026 Borgo Valbelluna - Belluno – Italy
Via dell'Artigiano, n°1 – Z.A.
Tel. 0437 751175 – 751163 r.a. Fax 0437 751065
www.allmatic.com - E-mail: [email protected]
Prima di effettuare i collegamenti verificare che la centralina ed il motore non siano
alimentati. Collegare le due batterie al piombo da 12V 7A in serie alla scheda carica
-
batterie.
Before making the connections check that the Control Unit and the motor are not powered.
Connect the two 12V 7A lead acid batteries in series to the battery charger board.
Avant d'effectuer les connexions, vérifier que l'unité de commande et le moteur ne sont
pas sous tension. Connectez les deux batteries au plomb de 12V 7A en série à la carte de
charge de batterie.
Antes de efectuar las conexiones, compruebe que la unidad de control y el motor no están
alimentados. Conecte las dos baterías de plomo de 12V 7A en serie a la tarjeta de carga
de baterías.
-
-
V2
V1
Collegare il cavo dalla scheda carica batterie ( V1 ) alla scheda POTENZA della centralina
BIOS1 24 POWER.
-
Connect the cable from the battery charger card ( V1 ) to the POWER board of the control
V1
unit BIOS1 24 POWER.
+
Brancher le câble de la carte du chargeur de batterie ( V1 ) à la carte PUISSANCE de l'unité
de commande BIOS1 24 POWER.
Conecte el cable de la tarjeta de carga de baterías ( V1 ) a la tarjeta de POTENCIA de la
unidad de control BIOS1 24 POWER.
Collegare il cavo dalla scheda carica batterie ( V2 ) alla scheda CONTROLLO della
centralina BIOS1 24 POWER.
Connect the cable from the battery charger card ( V2 ) to the CONTROL board of the
-
control unit BIOS1 24 POWER.
V2
Brancher le câble de la carte du chargeur de batterie ( V2 ) à la carte COMMANDE de
+
l'unité de commande BIOS1 24 POWER.
Conecte el cable de la tarjeta de carga de baterías ( V2 ) a la tarjeta de CONTROL de la
unidad de control BIOS1 24 POWER.
