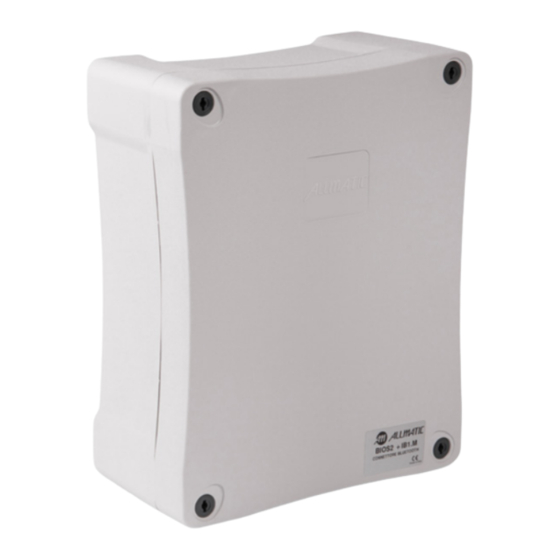
Allmatic 12006515 빠른 시작 매뉴얼
{카테고리_이름} Allmatic 12006515에 대한 빠른 시작 매뉴얼을 온라인으로 검색하거나 PDF를 다운로드하세요. Allmatic 12006515 2 페이지.

CONNECTION DIAGRAM
TRASF
R1 SLOT
FUSE
MODULE
FUSE
ACCESSORIES Vac
FUSE F 2.0A
LINE FUSE
F 6.3A
1
2
3
4
5
6
7
8
9
10
11
12
13
14
15
16
17
18
24Vac 9W
OUTPUT
L1
L2
L1
L2
L
N
230Vac 50Hz
FLASHING LAMP
M1
M2
with FIX LIGHT
ELECTRIC LOCK
230Vac 60W MAX
12Vac 15W MAX
RX
COURTESY
LIGHT OUTPUT
230Vac 100W MAX
TECHNICAL CHARACTERISTICS
Power Supply (board)
230Vac - 50/60Hz
Absorption (board)
55mA @ 230Vac
Motors power supply
230Vac - 50/60Hz
Max power absorbed from motors
2 x 700W
Radio receiver
433MHz - Rolling Code Allmatic
Max transmitters
1000
FAQs
One or more safety Leds (EDGE, PH2, PH1, STOP) are switched off.
Check accessories fuse and connection to the device related to the LED that is
turned off. Every safety device, if present, must be connected to the card with a
contact NORMALLY CLOSED and the corresponding DIP SWITCH must be in OFF.
During the learning of the strokes the gate does not move.
Check fuses, check motors connection and capacitors to the control unit.
During the learning of the strokes the gate moves but very slowly and
fatigue.
Check motors installation dimensions and maximum weight supported by the
motors. Check that, with the motors unlocked, the gate moves by hand smoothly
and with no difficult for the entire length of the stroke. Set the basic SSL para-
meter to 1.
During the learning of the strokes the gate doors moves simultaneously
or with an incorrect sequence.
Verify correct connection of motors phases (L1 – L2 – COM) to the control unit
and that there are no short circuits between them.
1
POWER SUPPLY and MOTOR SETTINGS
1
3
L1 phase
4
L2 phase
5
COMMON
R. MEMORY
MODULE
2
CONNECTING ONE PAIR of IRIS PHOTOCELL
1
FUSE
photocell
ACCESSORIES Vdc
FUSE F 0.5A
SECURITY
+24Vdc TX
19
DIP-SWITCH
GND
18
30
31
19
20
21
22
23
24
25
26
27
28
29
3
CONNECTING the ELECTRIC LOCK
1
KEY SELECTOR
PHOTOCELLS
N.O. CONTACTS
SUPPLY OUTPUT
15
STEP-BY-STEP
24Vdc 5W MAX
AND PARTIAL OPEN
MAX 12Vac 15W
TX
16
STOP BUTTON
N.C. CONTACT
PHOTOCELLS
N.C. CONTACT
CONNECTION
4
CONNECTING the FLASHING LAMP
1
DON'T USE lamp with
auto-flashing circuit
11
MAX 230Vac 60W
12
5
LEARNING of one TRANSMITTER
1
< 1"
UP
DOWN
MENU
SS
5
1
4
2
STEP-BY-STEP
3
1st
function
2
3
6
L
L1 phase
1
M1
M2
7
230Vac 50Hz
L2 phase
N
2
8
COMMON
2
TX
RX
photocell
+ -
+-
1 2
1 2 3 4 5
+24Vdc RX
17
GND
18
230Vac 50Hz
230Vac 50Hz
2
3
1
2
RELE
OR
External
power supply
R1
TYPE A
TYPE B
CONNECTION
2
3
> 5"
< 1"
UP
DOWN
MENU
UP
DOWN
MENU
SS
SS
2
3
< 1"
10" TIMEOUT
The address number associated
is displayed. (e.g. "255")
On the same transmitter you can learn the following functions (IN SEQUENCE):
PARTIAL OPEN
2nd
function
4
5
> 2"
< 1"
UP
DOWN
MENU
UP
DOWN
MENU
SS
SS
3
4
TX
RX
TX
LED
N.C. contact
23
OFF
common
1 2
1 2 3 4 5
1 2
29
4
> 5"
< 1"
UP
DOWN
UP
DOWN
UP
DOWN
MENU
MENU
MENU
> 2"
SS
SS
SS
4
UP
MENU
UP
DOWN
MENU
> 2"
SS
4
< 1"
STEP-BY-STEP
function
associated
OPEN
CLOSE
3rd
4th
function
function
6
UP
DOWN
M1
MENU
UP
DOWN
> 2"
SS
MENU
M1
M2
> 2"
SS
5
DIP PH1
Beam
Control Unit
set to OFF
status
Led status
RX
LED ON
LED
ON
1 2 3 4 5
LED OFF
5
UP
DOWN
MENU
> 2"
SS
32026 Borgo Valbelluna - Belluno – Italy
Via dell'Artigiano, n°1 – Z.A.
DOWN
Tel. 0437 751175 – 751163 r.a. Fax 0437 751065
www.allmatic.com - E-mail: [email protected]
> 2"
SS
BIOS2 230
QUICK START GUIDE
QUICK START GUIDE
product code 12006515
product code 12006515
ENG
pag. 1 / 2 6-1625231 rev.00 02/02/2021
