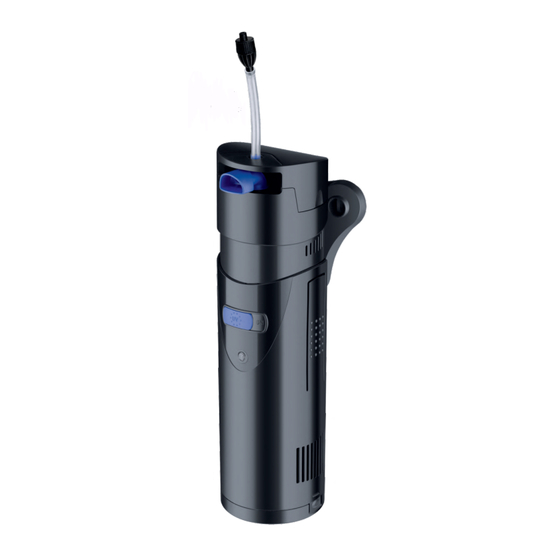
AllPondSolutions 700IF+ 빠른 시작 매뉴얼 - 페이지 7
{카테고리_이름} AllPondSolutions 700IF+에 대한 빠른 시작 매뉴얼을 온라인으로 검색하거나 PDF를 다운로드하세요. AllPondSolutions 700IF+ 16 페이지. Aquarium internal filter with uv

Unplug your filter at the mains and remove the plug from the socket.
Remove the IF+ from the aquarium.
Remove the Body by squeezing both pressure points on the side of the body
and pulling the motor and body apart.
Unscrew the screw and twist the screw nut counter clockwise. Gently pull the
quartz sleeve to access the UV bulb (leave the O-ring located underneath the
quartz glass in place).
Once cooled, UV bulb can be safely removed by gently
moving it from side to side and pulling free of unit.
Remove the old UV bulb and replace with a new UV bulb
Replace the quartz glass ensuring the o-ring at the
quartz base is present.
Reattach the screw nut and screw, replace the 700IF+ body.
IMPORTANT!
Check regularly that your UV light is operational by looking at the
UV light indicator located on the front of the 700IF+. This will light up blue if the
UV light is working.
Always change your UV bulb every six months regardless of it working or not,
as its performance will lessen by this stage.
Impeller
Please note: A clogged impeller is often the primary cause of all filter faults,
so it is extremely important to clean and inspect your impeller every month to
ensure it is functioning correctly and remove any debris. Keeping the impeller
clean will improve the performance of your filter and lengthen the life of the
motor. The impeller itself is a perishable part and will be subject to wear and
tear overtime. As a result, it is also very important to replace your impeller and
ceramic shaft annually.
