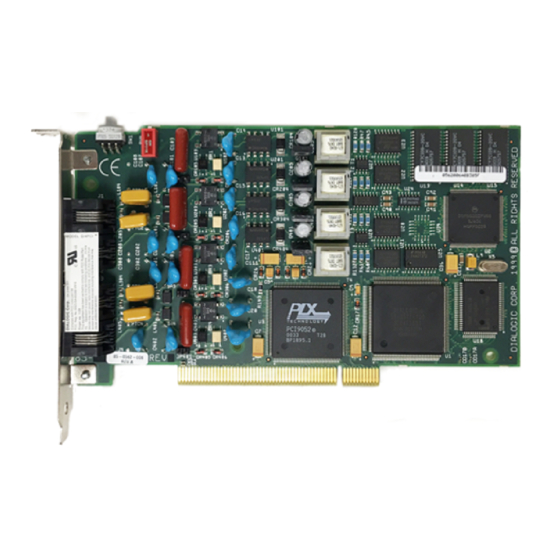
Dialogic D/4PCI 설치 및 교체 - 페이지 11
{카테고리_이름} Dialogic D/4PCI에 대한 설치 및 교체을 온라인으로 검색하거나 PDF를 다운로드하세요. Dialogic D/4PCI 19 페이지. Linecard
Dialogic D/4PCI에 대해서도 마찬가지입니다: 설치 및 교체 (18 페이지)

To install DNA version 3.3:
Remove previously installed versions of Dialogic System software before you install a new version.
1. Log on to Windows NT Workstation with an account that has Administrator
privileges on the OneBox platform.
2. Insert the OneBox Telephony Server program CD-ROM into the CD-ROM drive.
3. From the Start menu, select Run.
4. Click Browse, open the Dialogic folder on the CD-ROM, then double-click the
file Setup.exe.
5. With the path to Setup.exe in the Run dialog box, click OK to start the setup program.
6. In the Setup Options dialog box, click Custom, then click Next.
7. In the Custom Components Selection dialog box, select only the Dialogic Core
Drivers, Firmware, and Configuration Files option, then click Next.
8. In the Setup Options Summary dialog box, verify that the options you want appear on
the property sheet.
9. If you want to change any of the options, return to the appropriate dialog box by
clicking Back. Otherwise, click Next.
ã
R2B Copyright
Ericsson Enterprise AB 2001
Dialogic D/4PCI Linecard Installation and Replacement
IMPORTANT
11
