Burkert 8792 조립 지침 매뉴얼 - 페이지 5
{카테고리_이름} Burkert 8792에 대한 조립 지침 매뉴얼을 온라인으로 검색하거나 PDF를 다운로드하세요. Burkert 8792 16 페이지. Position controller and process controller with ii 3g ex ec ic iic t4 gc / ii 3d ex tc iiic t135c dc approval
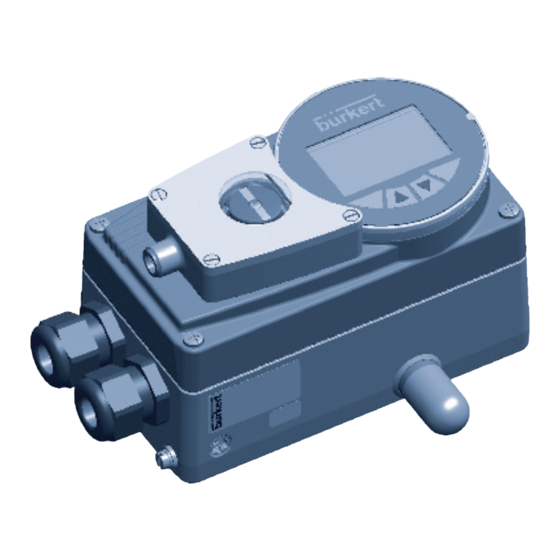
Burkert 8792에 대해서도 마찬가지입니다: 조립 지침 매뉴얼 (16 페이지), 추가 지침 (12 페이지)
9.
sTarT-up
9.1.
setting the position indicator
→
Loosen the 4 fastening screws and lift the cover off the
position indicator.
Fastening screws
Cover
Fig. 4:
Opening position indicator
Specifying home position:
→
Move the pneumatic actuator to the home position.
→
Rotate the complete display element until the yellow
marking bar is pointing in the required direction.
→
Move the first switching flag until the LED for the home
position proximity switch starts to light up.
(The LED is lit when the proximity switch is actuated).
english
16
→
Attach the cover for the external position indicator and
screw tight.
The external position feedback is now ready for operation.
english
18
Specifying end position:
→
Move the pneumatic actuator to the end position.
→
Move the second switching flag until the LED for the
end position proximity switch starts to light up.
When doing so, hold the previously set switching flag
to prevent it from shifting.
Display element with marking bar
Proximity switch 1
LED for
proximity switch 1
Switching flags
LED for proximity switch 2
Proximity switch 2
Fig. 5:
Setting position indicator
Type 8791, 8792, 8793
english
17